One-Step or Two-Stage Polishing Before Protection?
Choose a polishing process by testing defect removal, finishing quality and clear-coat preservation rather than counting steps alone.
Find the right protection for every surface.
Specialist chemistry. Expert application.
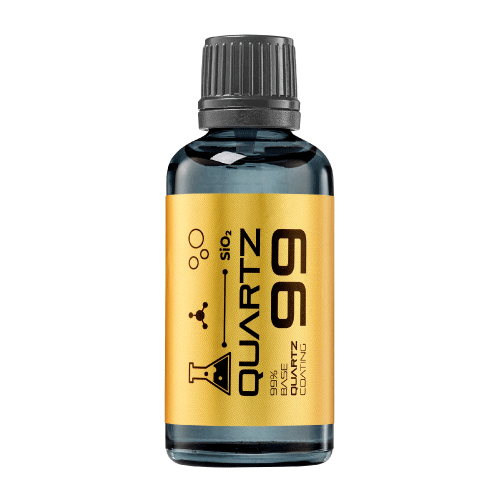 QUARTZ99 / CERAMIC BASE COAT
The foundation of your coating system.
A layerable quartz base coat designed for mechanical protection. Pair it with a suitable top coat to create the final finish.
For application by NANOLAB certified installers only.
Extended working time. A coating for the way you work.

Explore the BEAST family of ceramic coatings.
Find the coating for each exterior surface.
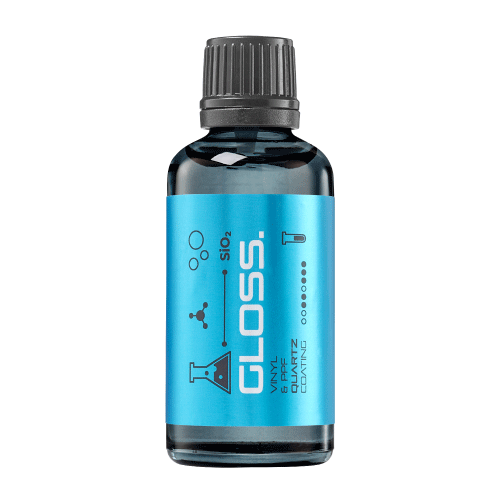 PPF & VINYLGLOSSProtection for glossy films and wraps.Discover
 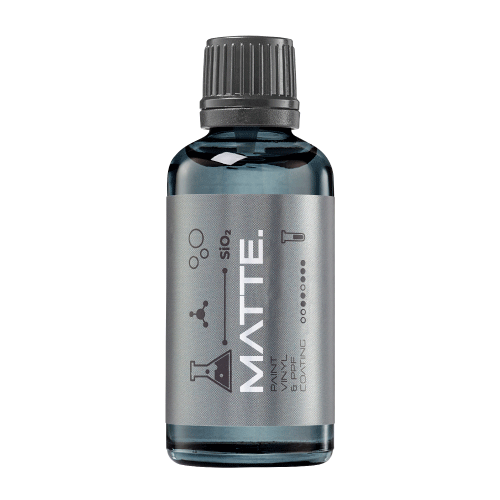 MATTE & SATINMATTEProtection that respects the finish.Discover
 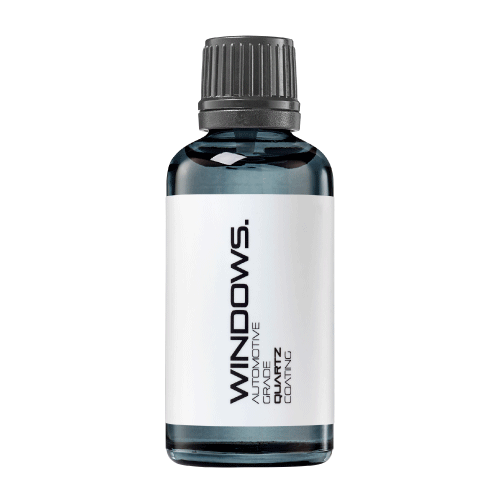 GLASSWINDOWSExplore dedicated glass protection.Discover
 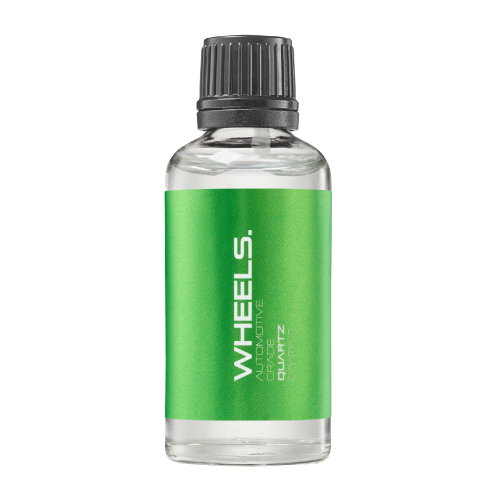 WHEEL PROTECTIONWHEELSA dedicated coating for your wheels.Discover
 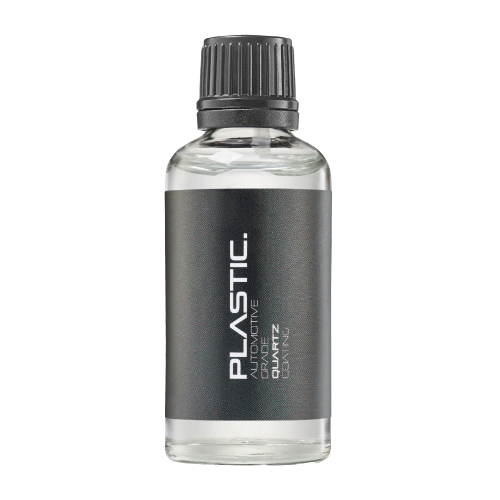 TRIM PROTECTIONPLASTICProtection for plastic surfaces.Discover
 Dedicated care for the surfaces inside.
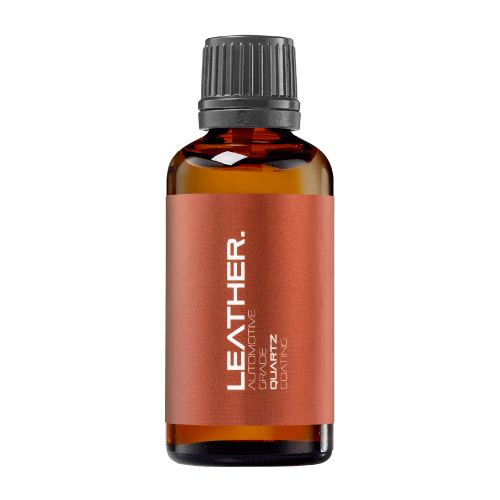 LEATHER SURFACESLEATHERDiscover NANOLAB leather protection.Discover PLASTIC SURFACESPLASTICProtection for interior plastic surfaces.Discover TEXTILE SURFACESFABRICExplore the latest fabric formulation.Discover
 Spray protection, maintenance and upcoming wash products.
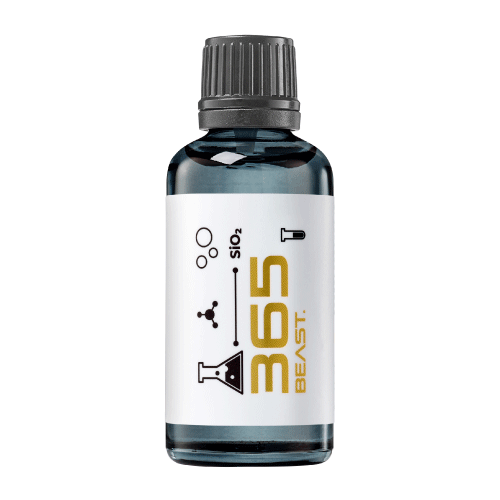 MAINTENANCEBEAST 365Explore the BEAST maintenance range.Discover
 Next in washing, cleaning & care.
Practical guidance for your next coating project.
Explore all guides →
Plan conservative paint correction, test pad and polish combinations, inspect the finish and prepare for ceramic protection.
Choose a polishing process by testing defect removal, finishing quality and clear-coat preservation rather than counting steps alone.
Document pad, polish, machine, surface and inspection results so a successful polishing test can guide the rest of the vehicle.
Understand pad priming and product loading so polishing starts evenly without dry contact, excessive residue or inconsistent performance.
Keep polishing results consistent by rotating clean pads, separating correction stages and recognising when a pad should be retired.
Inspect corrected paint after suitable residue removal to distinguish lasting defect improvement from temporary masking by polishing residue.
Plan paint correction around panel edges, sharp body lines and adjacent trim to reduce unnecessary abrasion and tool contact.
Diagnose inconsistent rotation on free-spinning dual-action polishers by checking pressure, pad contact, curves and the approved setup.
Reduce finishing haze on sensitive clear coat by checking pad choice, residue removal, towel contact and inspection technique.
Investigate grabbing pads and difficult polish removal by reviewing surface temperature, product loading, paint history and section size.
Assess an isolated paint scratch by its location, paint history and response to a conservative test instead of chasing complete removal.
Identify polishing trails under suitable lighting and verify refinement before applying a ceramic coating to glossy paint.
Plan polishing sections, pad rotation and inspection pauses to keep heat and tool control within the limits of the surface and equipment.