
A full polishing range.
From cutting and one-step correction to final finishing.
Specialist chemistry. Expert application.
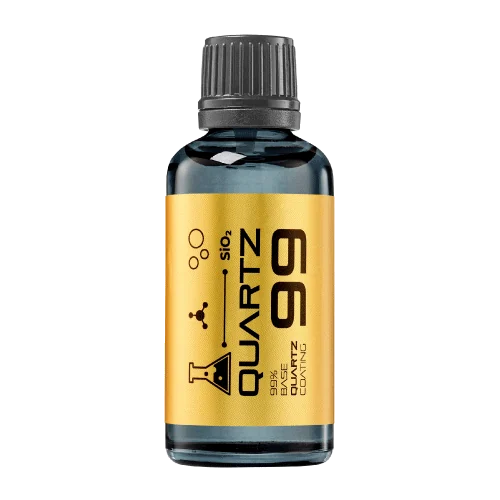 QUARTZ99 / CERAMIC BASE COAT
The foundation of your coating system.
A layerable quartz base coat designed for mechanical protection. Pair it with a suitable top coat to create the final finish.
For application by NANOLAB certified installers only.
Four formulas. Extended working time. Find the coating for your finish.
Explore the BEAST family of ceramic coatings.
Find the coating for each exterior surface.
 PPF & VINYLGLOSSProtection for glossy films and wraps.Discover
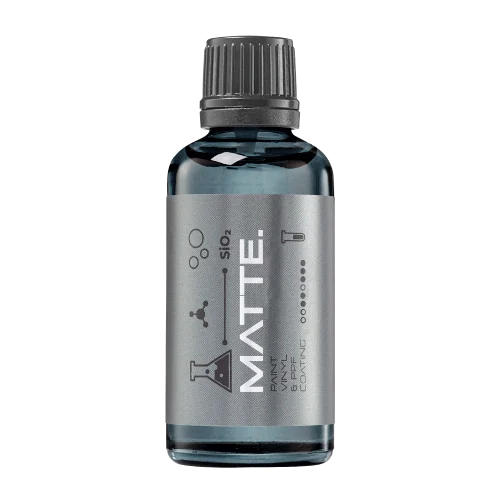 MATTE & SATINMATTEProtection that respects the finish.Discover
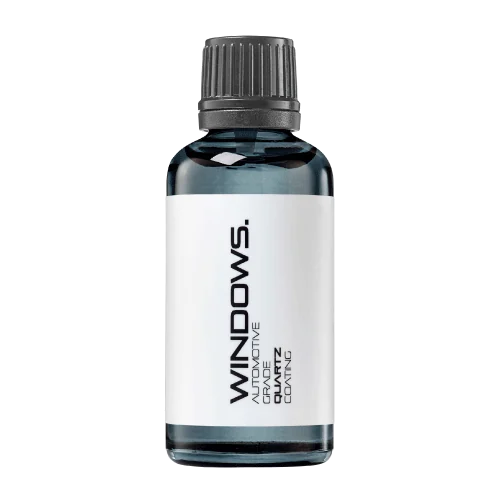 GLASSWINDOWSExplore dedicated glass protection.Discover
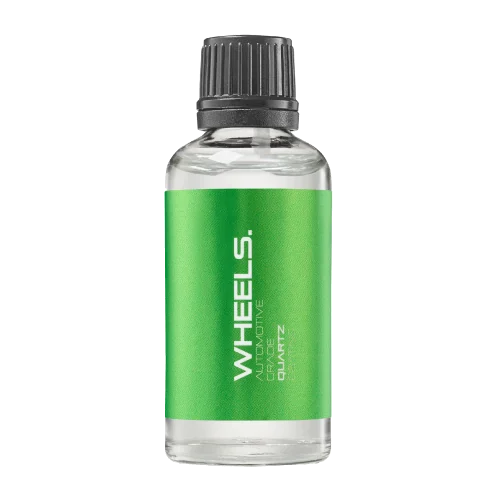 WHEEL PROTECTIONWHEELSA dedicated coating for your wheels.Discover
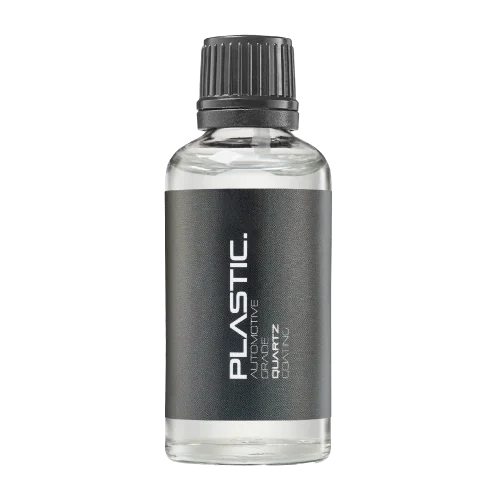 TRIM PROTECTIONPLASTICProtection for plastic surfaces.Discover
Dedicated care for the surfaces inside.
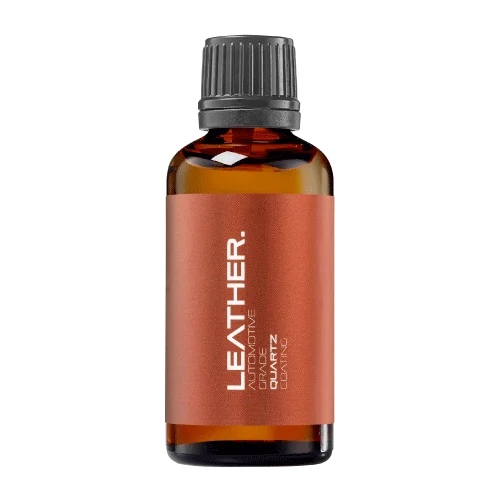 LEATHER SURFACESLEATHERDiscover NANOLAB leather protection.Discover PLASTIC SURFACESPLASTICProtection for interior plastic surfaces.Discover TEXTILE SURFACESFABRICExplore the latest fabric formulation.Discover
Spray protection, maintenance and upcoming wash products.
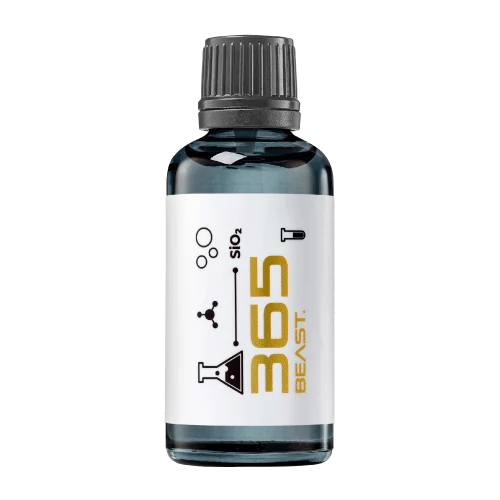 MAINTENANCEBEAST 365Explore the BEAST maintenance range.Discover
Next in washing, cleaning & care.
Ceramic protection for boats and yachts.
An easy-to-apply ceramic coating with an established track record on boats and yachts around the world.
Results vary with surface preparation, exposure and maintenance.
Read 50 MARINE guides →Explore MARINEProtection for the surfaces you live with.
A look at what we’re developing.
From cutting and one-step correction to final finishing.
A wider range for professional vehicle care.
Taking shape alongside BEAST & MATRIX.
Practical guidance for your next coating project.
Explore all guides →
A corrected repair can look wrong when its reflection texture differs from nearby paint. Set texture and defect-removal targets separately.
Updated · NANOLAB Knowledge
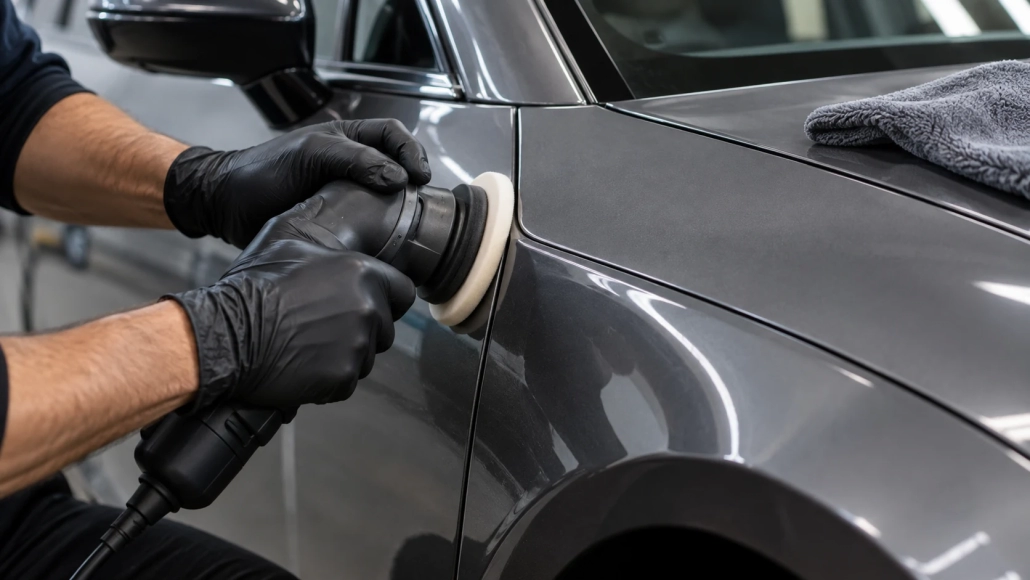
A repaired panel can be bright and free of swirls yet still look different from the rest of the vehicle. Texture changes the shape of reflections. Aggressive local levelling may create a smooth island beside the original finish, even when the liquid produces impressive gloss.
Inspect adjacent suitable panels under broad reflections as well as a directional defect light. Record whether the goal is to preserve the existing factory texture, match a neighbouring repair or intentionally refinish a wider area. These are different jobs.
Confirm the repair history with the bodyshop. Abrasive correction is not a substitute for resolving paint-system defects, inadequate curing or a failing finish. Any sanding or levelling work requires a suitable documented process and competent assessment of the available film.
Use directional light to assess correctable scratches and haze. Use a stable reflected straight line or other broad pattern to compare texture. Keep the viewing distance and angle consistent. A close-up spotlight photograph cannot fully document the way the panel’s reflection sits beside its neighbours.
Write two acceptance statements: which defects should improve, and how the surrounding texture should be preserved or matched. A compound may solve the first while a previous sanding stage has already changed the second.
If a small corrected zone develops a conspicuously different reflection, stop and reassess the scope with the repairer. Do not keep spreading aggressive correction across the panel simply to make the smooth area less obvious. That expands material removal without establishing that it is appropriate.
At final inspection, compare the repair from normal viewing distances, several angles and the agreed lighting. Note any remaining texture difference separately from polishing haze. This makes the handover specific instead of reducing quality to a gloss claim.
3M’s repair finishing procedure distinguishes repair scales and texture matching. Pair that context with the car polish guide when defining the finishing stages.

 DA Polishing Pad Balance: Investigating New Vibration