
A full polishing range.
From cutting and one-step correction to final finishing.
Specialist chemistry. Expert application.
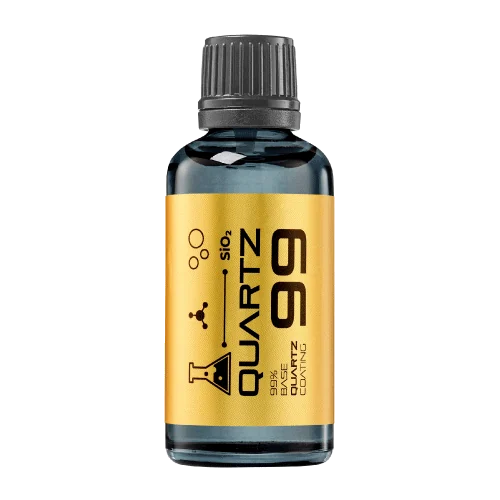 QUARTZ99 / CERAMIC BASE COAT
The foundation of your coating system.
A layerable quartz base coat designed for mechanical protection. Pair it with a suitable top coat to create the final finish.
For application by NANOLAB certified installers only.
Four formulas. Extended working time. Find the coating for your finish.
Explore the BEAST family of ceramic coatings.
Find the coating for each exterior surface.
 PPF & VINYLGLOSSProtection for glossy films and wraps.Discover
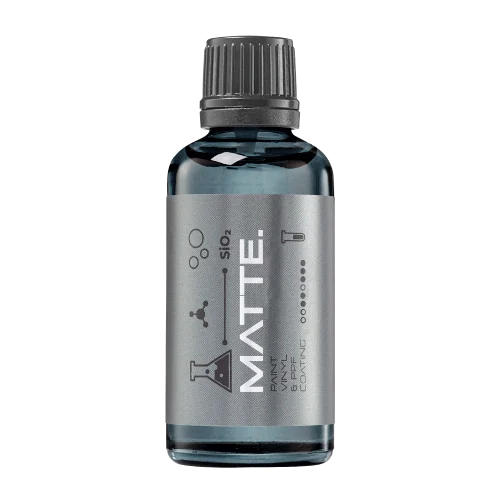 MATTE & SATINMATTEProtection that respects the finish.Discover
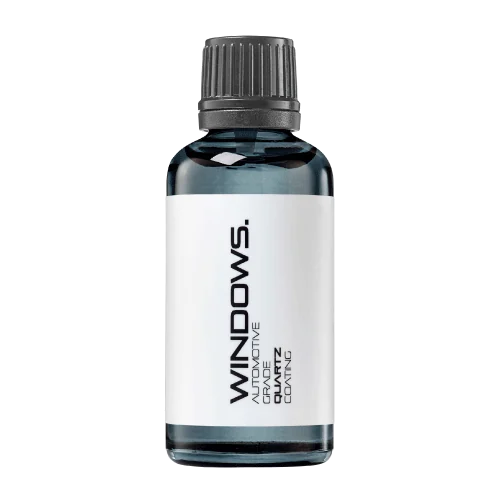 GLASSWINDOWSExplore dedicated glass protection.Discover
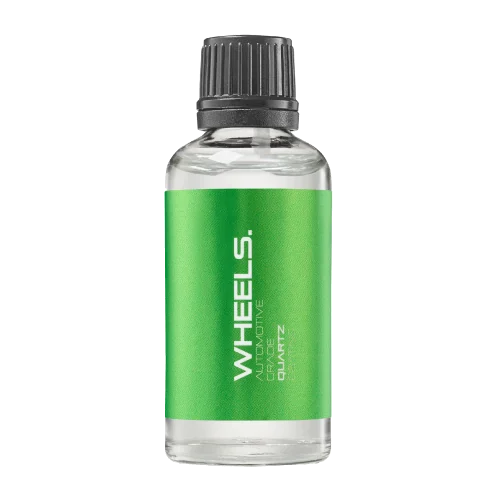 WHEEL PROTECTIONWHEELSA dedicated coating for your wheels.Discover
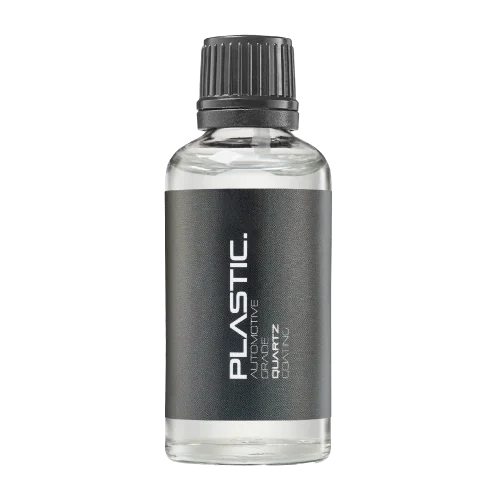 TRIM PROTECTIONPLASTICProtection for plastic surfaces.Discover
Dedicated care for the surfaces inside.
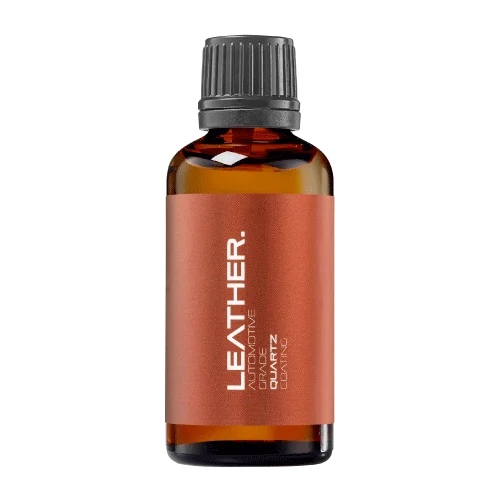 LEATHER SURFACESLEATHERDiscover NANOLAB leather protection.Discover PLASTIC SURFACESPLASTICProtection for interior plastic surfaces.Discover TEXTILE SURFACESFABRICExplore the latest fabric formulation.Discover
Spray protection, maintenance and upcoming wash products.
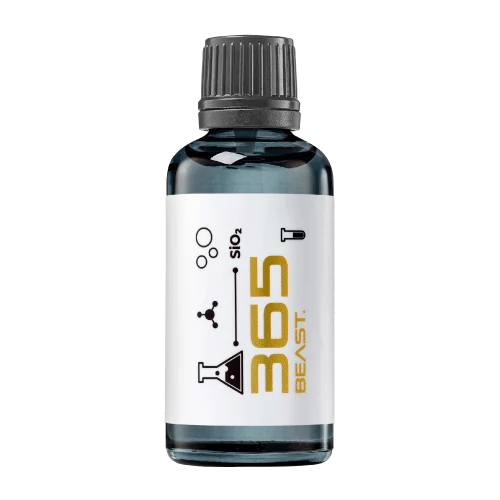 MAINTENANCEBEAST 365Explore the BEAST maintenance range.Discover
Next in washing, cleaning & care.
Ceramic protection for boats and yachts.
An easy-to-apply ceramic coating with an established track record on boats and yachts around the world.
Results vary with surface preparation, exposure and maintenance.
Read 50 MARINE guides →Explore MARINEProtection for the surfaces you live with.
A look at what we’re developing.
From cutting and one-step correction to final finishing.
A wider range for professional vehicle care.
Taking shape alongside BEAST & MATRIX.
Practical guidance for your next coating project.
Explore all guides →
Plan meaningful compound, fine cut and finishing-polish trials with practical guides to measurements, pad selection, inspection and workshop decisions.
Updated · NANOLAB Knowledge
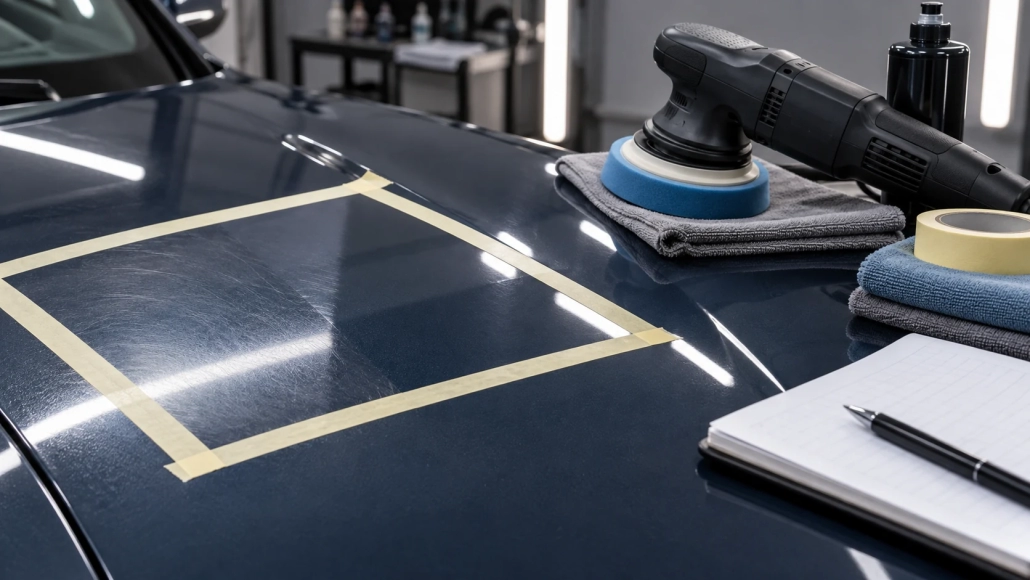
A useful car polish trial answers a defined workshop question: which approved process reaches the agreed finish on this surface, with controlled effort and appropriate material preservation? A dramatic reflection photograph or an isolated cutting-speed result cannot answer every part of that question.
Start with an identified, suitable glossy finish and a representative test area. Record the machine, pad, liquid, working conditions and residue-removal procedure. Use the guides below to build a traceable decision instead of collecting unrelated impressions.
Define the target defect and accepted final finish before comparing liquids. Change factors deliberately, reverse the testing order where useful, and keep brand expectations separate from inspection.
Record the material and surface actually tested. Repeated readings, bottle history, panel history and measured consumption can improve a trial, but none should be converted into unsupported clear-coat allowances or durability promises.
A fast cutting stage may create extra refinement. Evaluate the neighbouring texture, inspection wiping and stopping point alongside defect reduction. Use the same accepted viewing method to compare the final results.
Unexpected equipment behaviour and unclear pad identity can undermine an otherwise sensible liquid selection. Preserve exclusions, track pad condition and assess the operator’s decision-making as well as the visible gloss.
Packaging should support controlled use through the bottle’s normal depletion. When a customer reports a problem, recover the original scope and inspection conditions before deciding that more abrasive correction is appropriate.
Keep trial conclusions specific. A process that worked on one test panel has earned a wider evaluation, not an automatic universal recommendation. Record unsuccessful tests too: they explain why the selected route was chosen and help another operator avoid repeating the same unsuitable combination.
For selection fundamentals, use the complete car polish and compound guide. Manufacturer instructions remain specific to their systems; useful reference examples include RUPES pad-system guidance and 3M’s repair finishing workflow.
 Solvent Pop in Car Paint: Why Heavy Cut Compound Is Not a Repair