
A full polishing range.
From cutting and one-step correction to final finishing.
Specialist chemistry. Expert application.
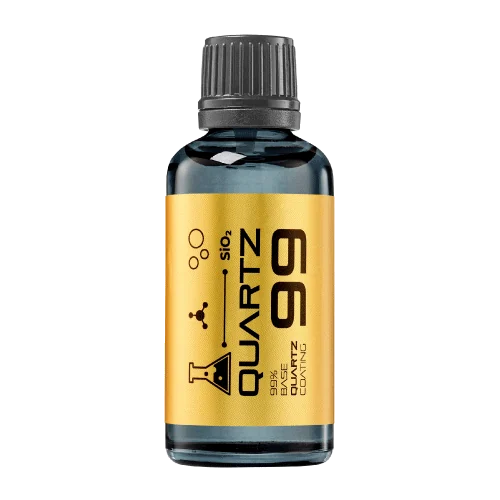 QUARTZ99 / CERAMIC BASE COAT
The foundation of your coating system.
A layerable quartz base coat designed for mechanical protection. Pair it with a suitable top coat to create the final finish.
For application by NANOLAB certified installers only.
Four formulas. Extended working time. Find the coating for your finish.
Explore the BEAST family of ceramic coatings.
Find the coating for each exterior surface.
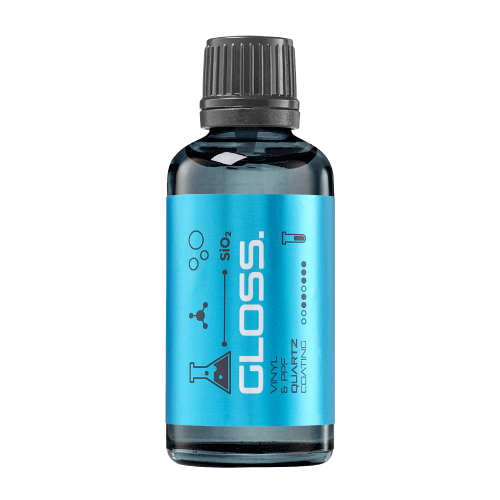
 PPF & VINYLGLOSSProtection for glossy films and wraps.Discover
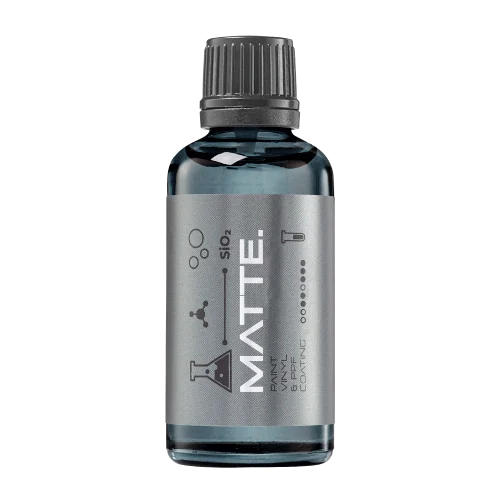 MATTE & SATINMATTEProtection that respects the finish.Discover
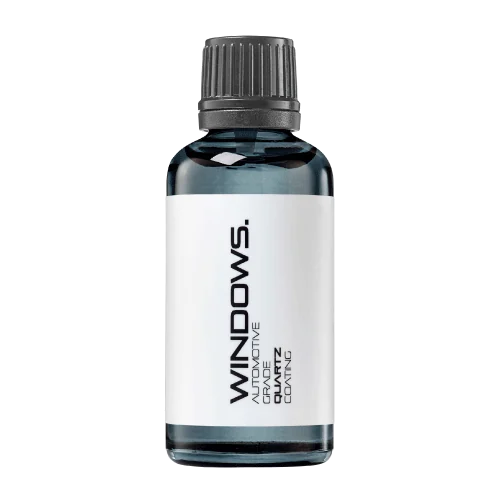 GLASSWINDOWSExplore dedicated glass protection.Discover
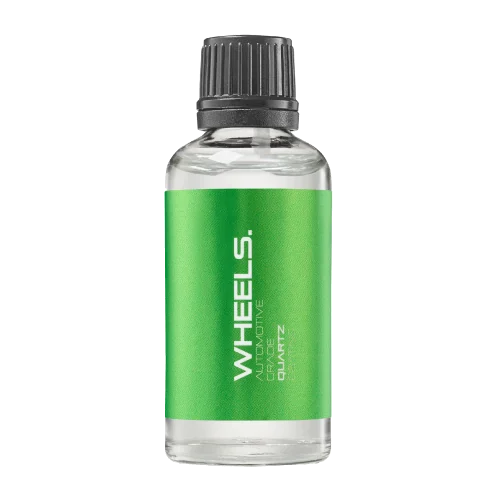 WHEEL PROTECTIONWHEELSA dedicated coating for your wheels.Discover
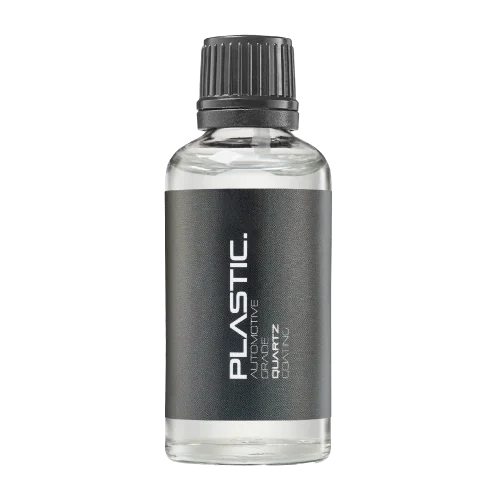 TRIM PROTECTIONPLASTICProtection for plastic surfaces.Discover
Dedicated care for the surfaces inside.
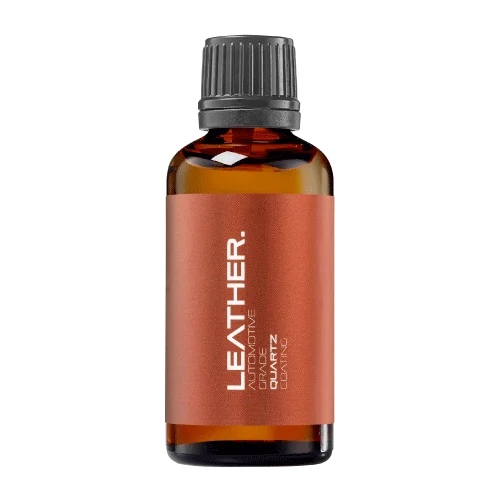 LEATHER SURFACESLEATHERDiscover NANOLAB leather protection.Discover PLASTIC SURFACESPLASTICProtection for interior plastic surfaces.Discover TEXTILE SURFACESFABRICExplore the latest fabric formulation.Discover
Spray protection, maintenance and upcoming wash products.
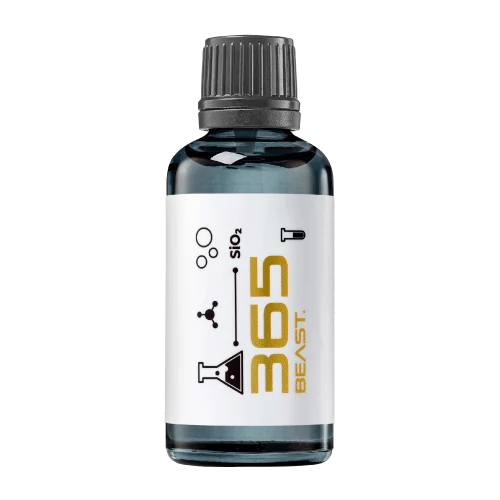 MAINTENANCEBEAST 365Explore the BEAST maintenance range.Discover
Next in washing, cleaning & care.
Ceramic protection for boats and yachts.
An easy-to-apply ceramic coating with an established track record on boats and yachts around the world.
Results vary with surface preparation, exposure and maintenance.
Read 50 MARINE guides →Explore MARINEProtection for the surfaces you live with.
A look at what we’re developing.
From cutting and one-step correction to final finishing.
A wider range for professional vehicle care.
Taking shape alongside BEAST & MATRIX.
Practical guidance for your next coating project.
Explore all guides →
Map bumper film edges, deep recesses and vehicle sensors before selecting a practical, approved coating application sequence.
Updated · NANOLAB Knowledge
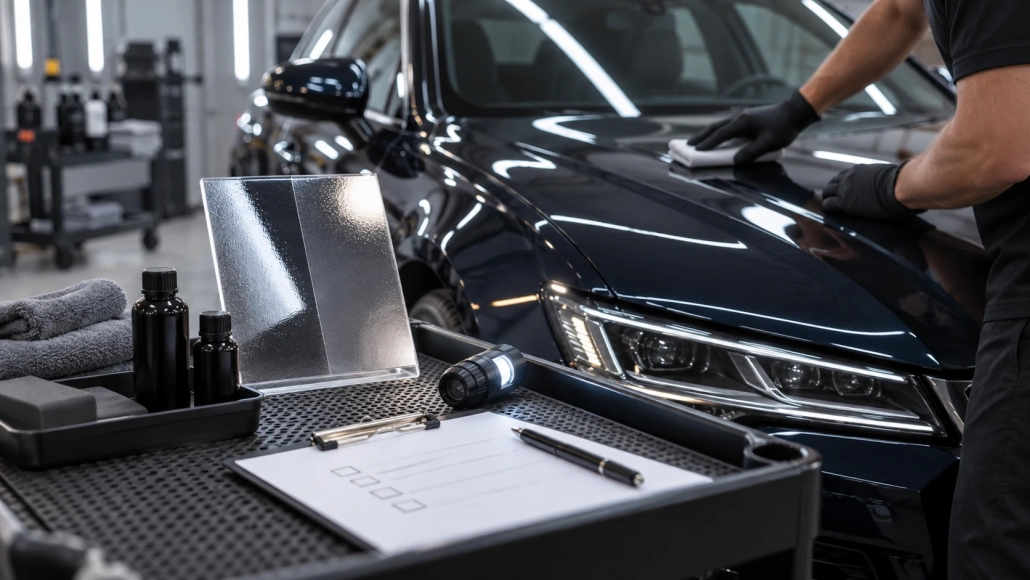
A film-wrapped bumper combines broad faces, sharp transitions, openings and components with different functions. Treating it as one uninterrupted coating area makes it easy to overlook a film edge or apply product to a component outside the approved scope.
Use a front or rear view with numbered close-ups. Mark the film perimeter, joins, deep recesses and any sensors, cameras, lamps or textured trim. Confirm which surfaces are actually wrapped; visual similarity does not establish that the same material covers every area.
| Zone | Required decision |
|---|---|
| Broad film face | Confirm film and coating compatibility |
| Recess or narrow return | Check access for application and inspection |
| Film edge or join | Follow the approved edge-handling method |
| Sensor or optical component | Use vehicle-specific restrictions and exclusions |
Select a sequence that allows each approved area to be applied, levelled and checked within the product’s working instructions. A small recess that cannot be inspected reliably should not receive extra product merely because it is difficult to reach. Agree an exclusion or a suitable method before starting.
Keep the marked photograph with the job file and identify excluded components explicitly. For example, a coated bumper face with an excluded camera cover is a defined service scope, not a completely coated bumper. If any component’s operation or appearance changes, stop the work and refer to the appropriate vehicle or installation specialist rather than attempting calibration through a detailing procedure.
Ask NANOLAB about your surface and intended use. For application and care, use the current instructions for the exact product.
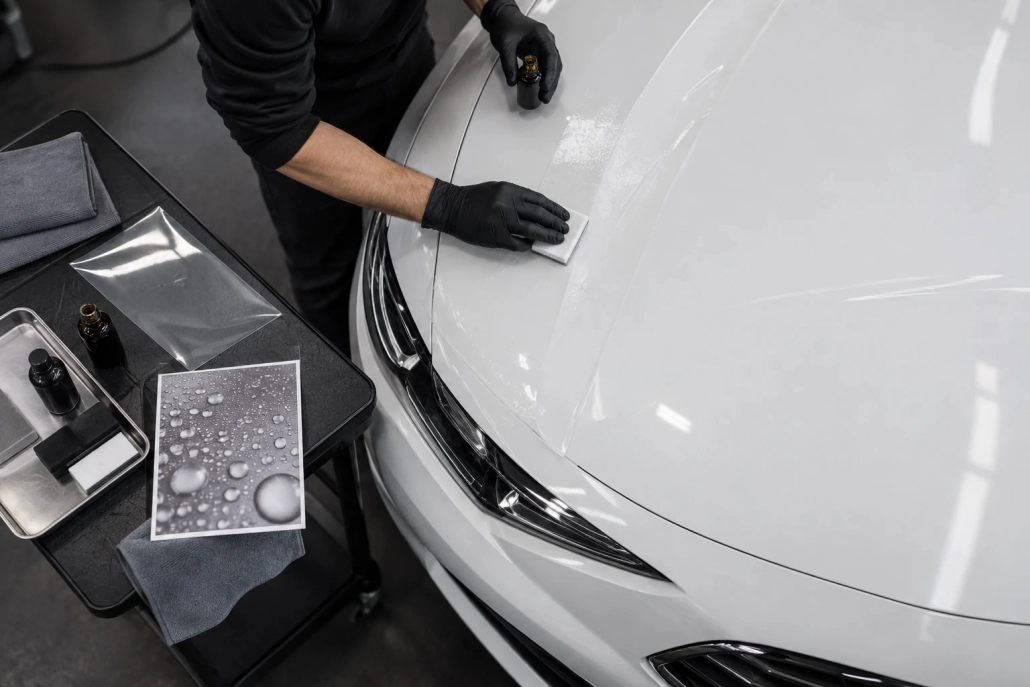
Check film condition, finish compatibility and the approved coating process before applying ceramic protection over paint protection film.
Printed sponsor graphics can create several care zones on a wrapped car.
Include film-edge locations and the film maker’s washing instructions in the care brief for a coated PPF installation.
 Rinsing around PPF Edges: Make the Wash Direction Part of the Care Brief