
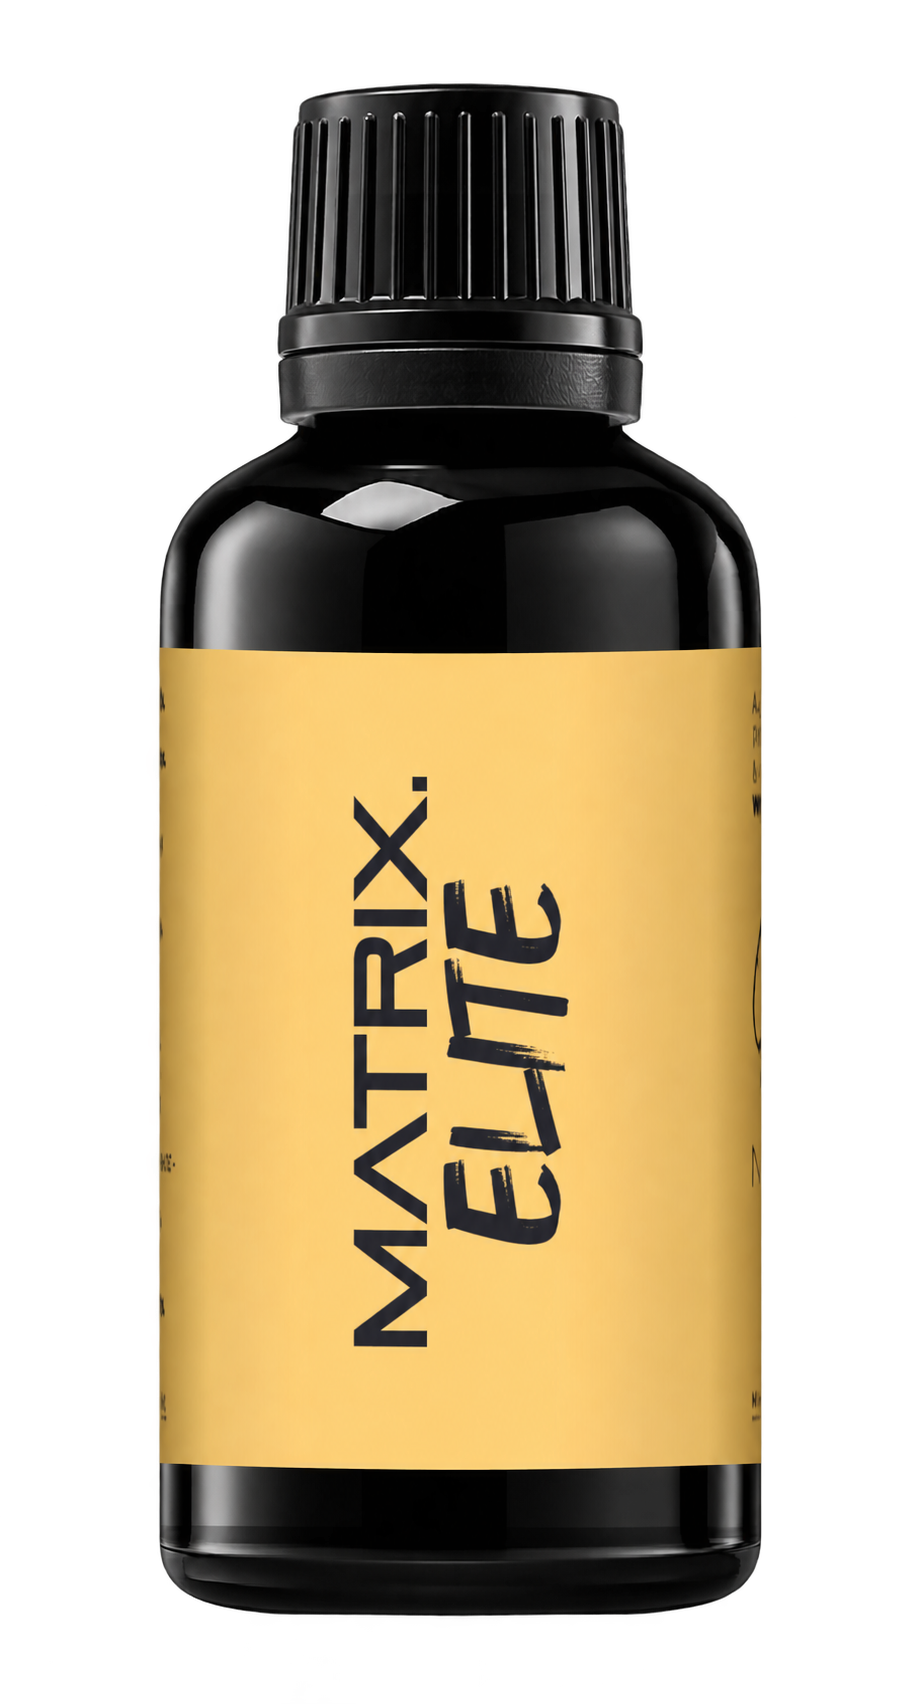
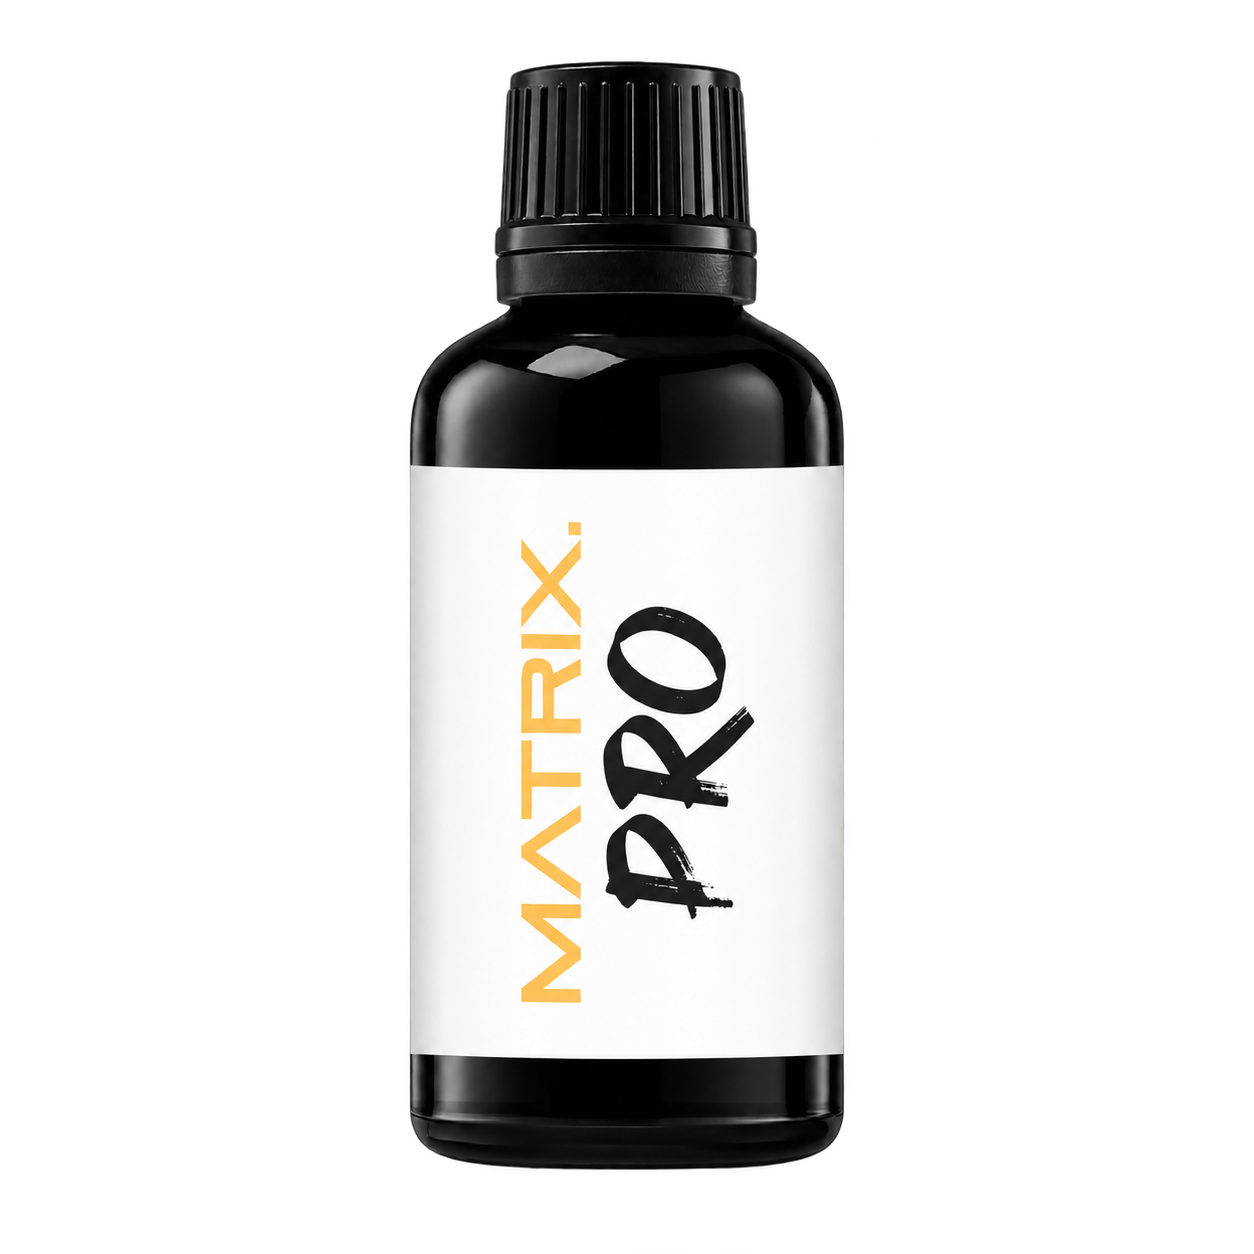
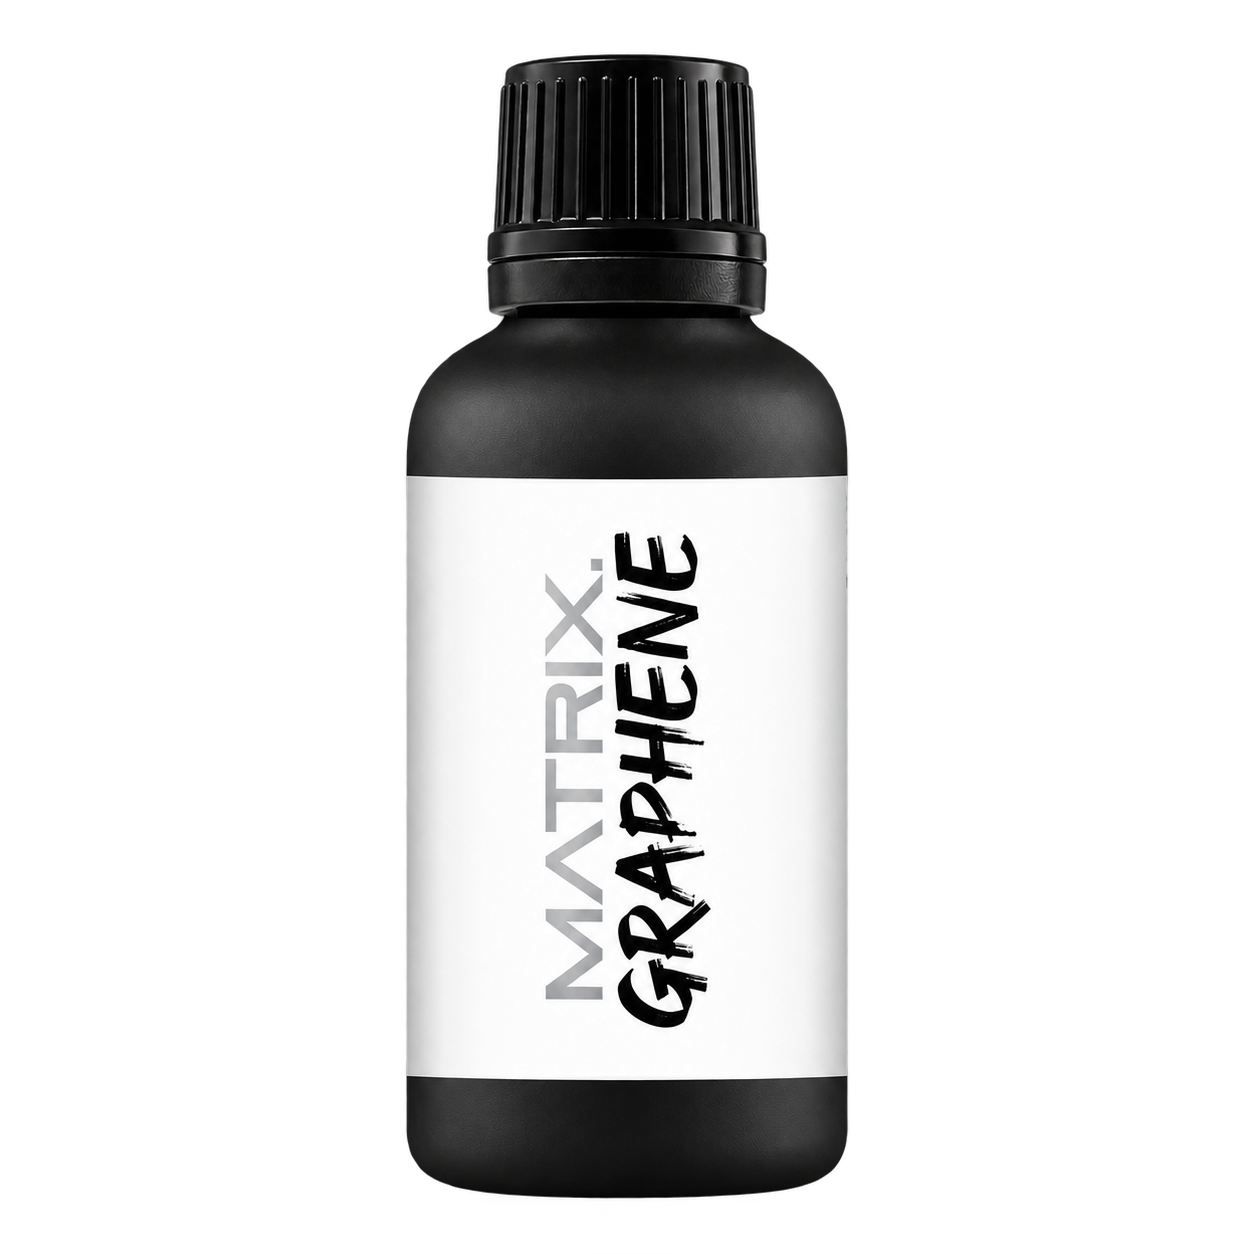
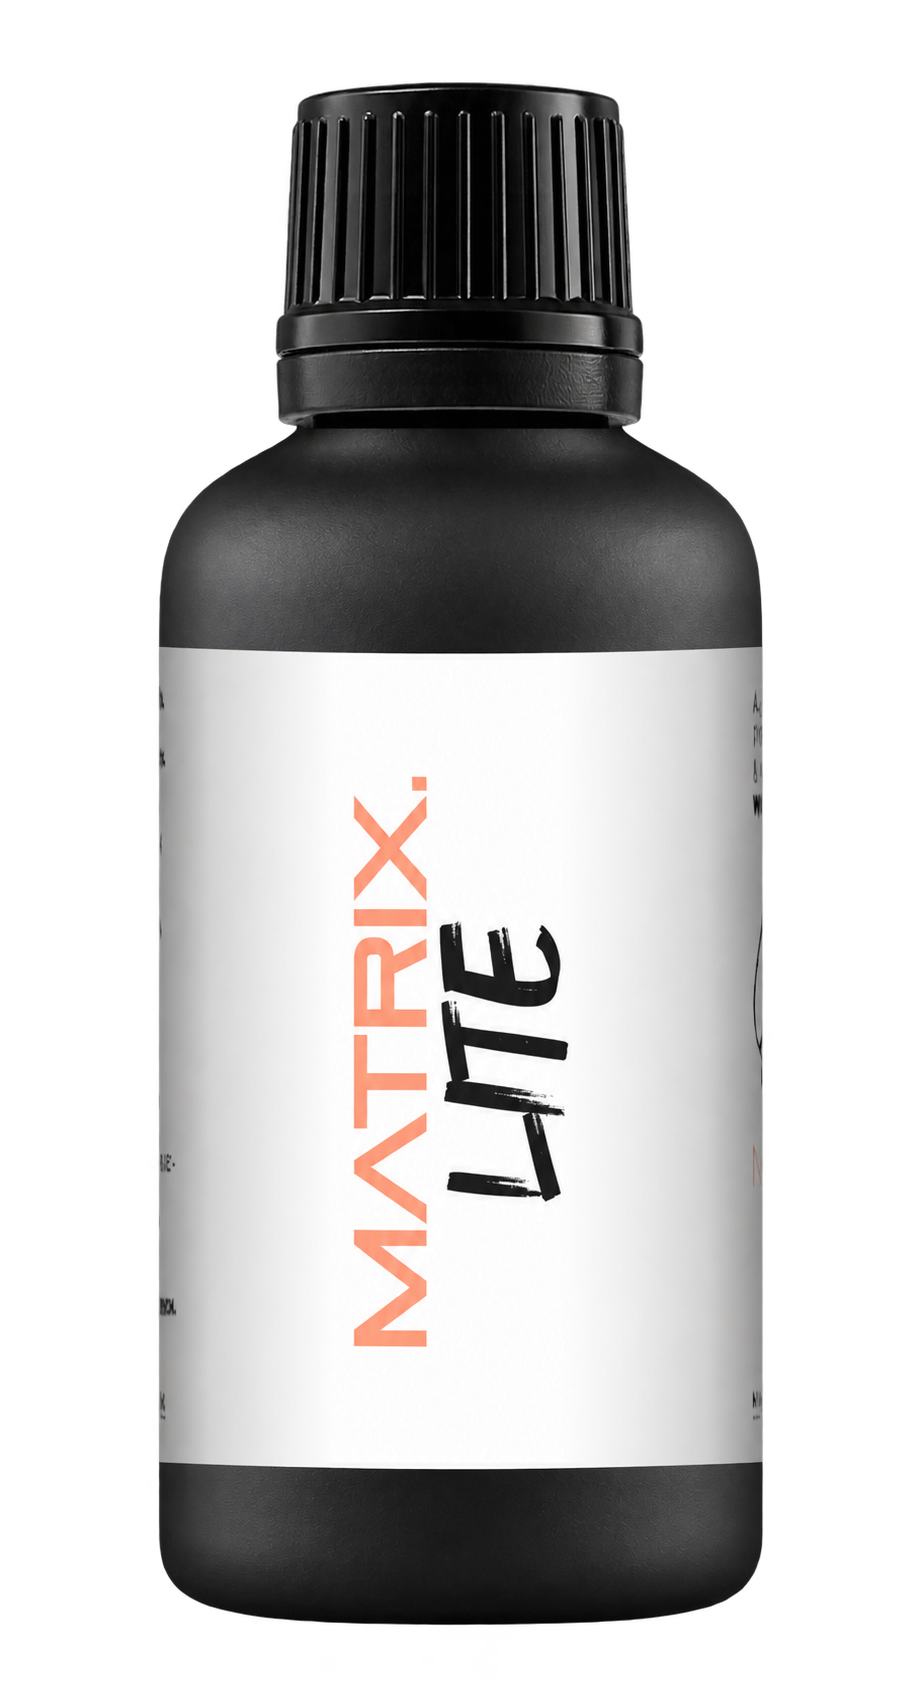
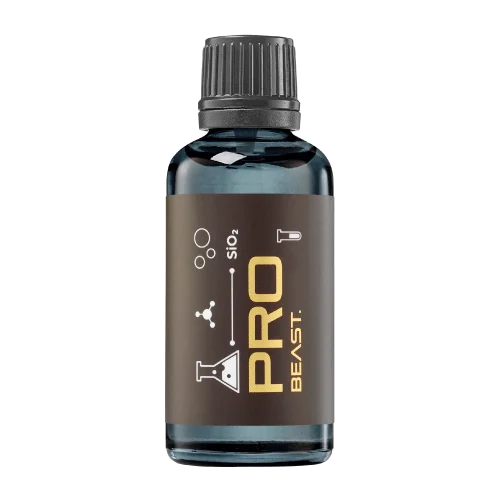
A full polishing range.
From cutting and one-step correction to final finishing.
Specialist chemistry. Expert application.
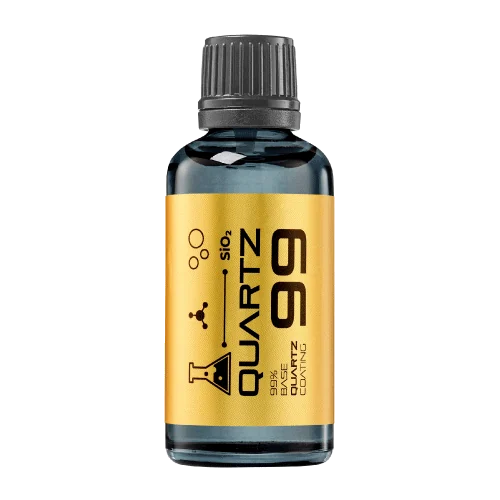 QUARTZ99 / CERAMIC BASE COAT
The foundation of your coating system.
A layerable quartz base coat designed for mechanical protection. Pair it with a suitable top coat to create the final finish.
For application by NANOLAB certified installers only.
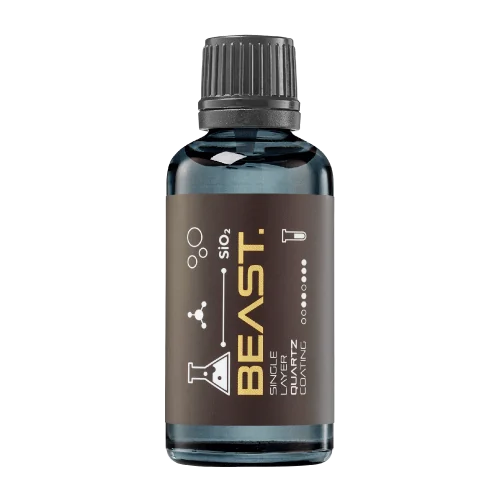
Four formulas. Extended working time. Find the coating for your finish.
Explore the BEAST family of ceramic coatings.
Find the coating for each exterior surface.
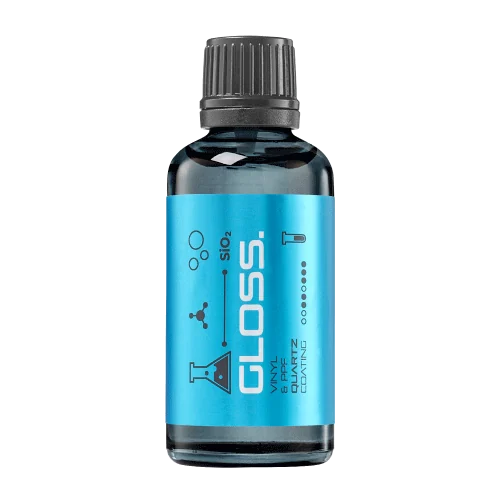 PPF & VINYLGLOSSProtection for glossy films and wraps.Discover
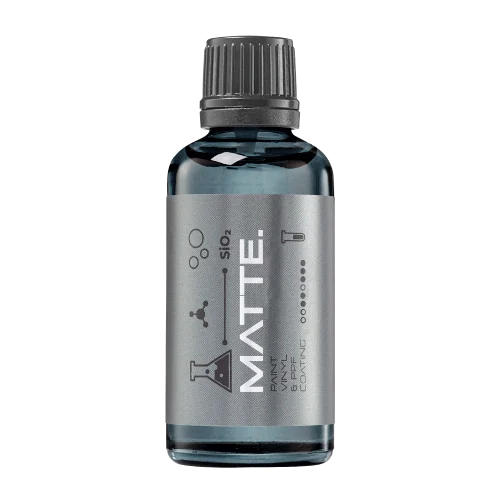 MATTE & SATINMATTEProtection that respects the finish.Discover
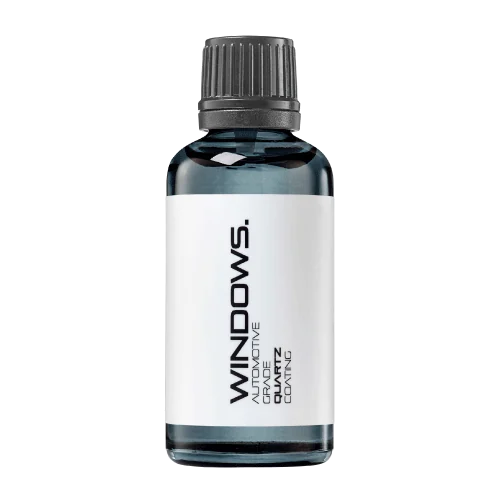 GLASSWINDOWSExplore dedicated glass protection.Discover
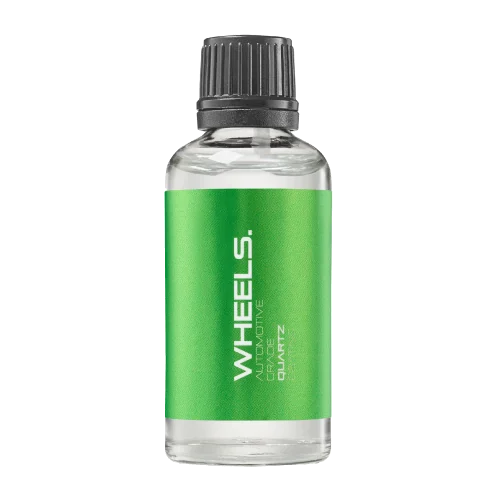 WHEEL PROTECTIONWHEELSA dedicated coating for your wheels.Discover
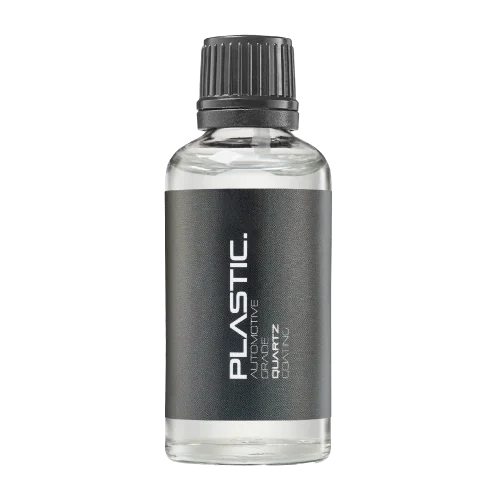 TRIM PROTECTIONPLASTICProtection for plastic surfaces.Discover
Dedicated care for the surfaces inside.
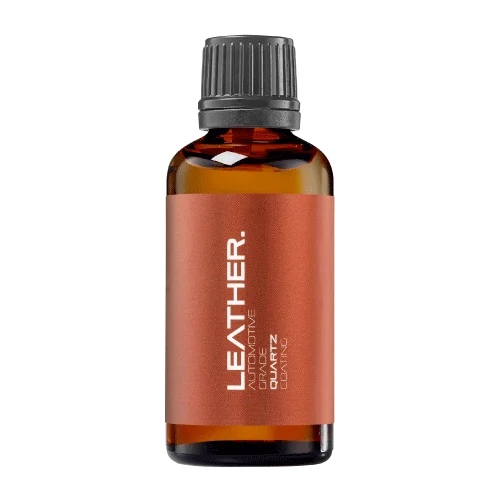 LEATHER SURFACESLEATHERDiscover NANOLAB leather protection.Discover PLASTIC SURFACESPLASTICProtection for interior plastic surfaces.Discover TEXTILE SURFACESFABRICExplore the latest fabric formulation.Discover
Spray protection, maintenance and upcoming wash products.
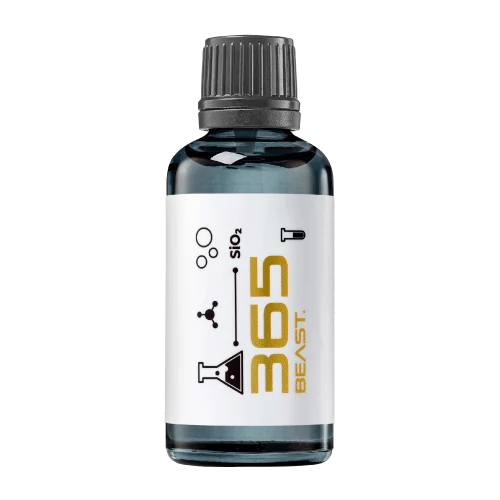 MAINTENANCEBEAST 365Explore the BEAST maintenance range.Discover
Next in washing, cleaning & care.
Ceramic protection for boats and yachts.
An easy-to-apply ceramic coating with an established track record on boats and yachts around the world.
Results vary with surface preparation, exposure and maintenance.
Read 50 MARINE guides →Explore MARINEProtection for the surfaces you live with.
A look at what we’re developing.
From cutting and one-step correction to final finishing.
A wider range for professional vehicle care.
Taking shape alongside BEAST & MATRIX.
Practical guidance for your next coating project.
Explore all guides →
Heavy cutting can improve scratches while also changing how existing clear-coat texture looks.
Updated · NANOLAB Knowledge
Heavy cutting can improve scratches while also changing how existing clear-coat texture looks. On a repaired panel, a locally smoother patch may stand out against surrounding orange peel. The goal should include texture continuity, not simply the brightest possible reflection in the test spot.
Use a concentrated light to inspect scratches and fine haze. Use a reflected straight edge or broad light shape to observe larger texture and distortion. Photograph both before work. A panel can improve under the first view while becoming less consistent under the second.
Decide whether the task is defect correction within the existing texture or deliberate texture levelling. These are different scopes. A routine heavy-cut service should not silently become a sanding and levelling operation.
After a controlled test and suitable residue removal, inspect the transition into untouched paint. Look for changes in the width and shape of reflected edges, not only their brightness. Move across the panel to distinguish a local treatment effect from the panel’s original curvature.
If the test area looks noticeably flatter or different, stop expanding the process. Review the repair history and whether the proposed correction is suitable. Attempting to make the rest of the vehicle match a small overworked patch can multiply the problem.
For a local repair, a reasonable requirement might be reduced target defects with no conspicuous change in texture relative to the adjacent finish. For a specialist texture-levelling service, the requirements and paint assessment must be defined separately.
Fine cut and finish polish can address appropriate residual marring, but they should not be presented as a way to restore clear-coat texture that has already been removed. More polishing cannot put material back.
Keep the texture photographs in the same record as the scratch photographs. This makes the decision visible to another technician and prevents a later quality check from judging the work only by a narrow, highly flattering light reflection. A successful correction respects both defect reduction and the intended appearance of the whole panel.
Manufacturer sources describe their own products and methods. The workshop decision framework above is editorial guidance; follow the current instructions for the exact paint, liquid, pad and machine you use.
For current NANOLAB product instructions and compatibility, visit product documentation or contact the technical team.