
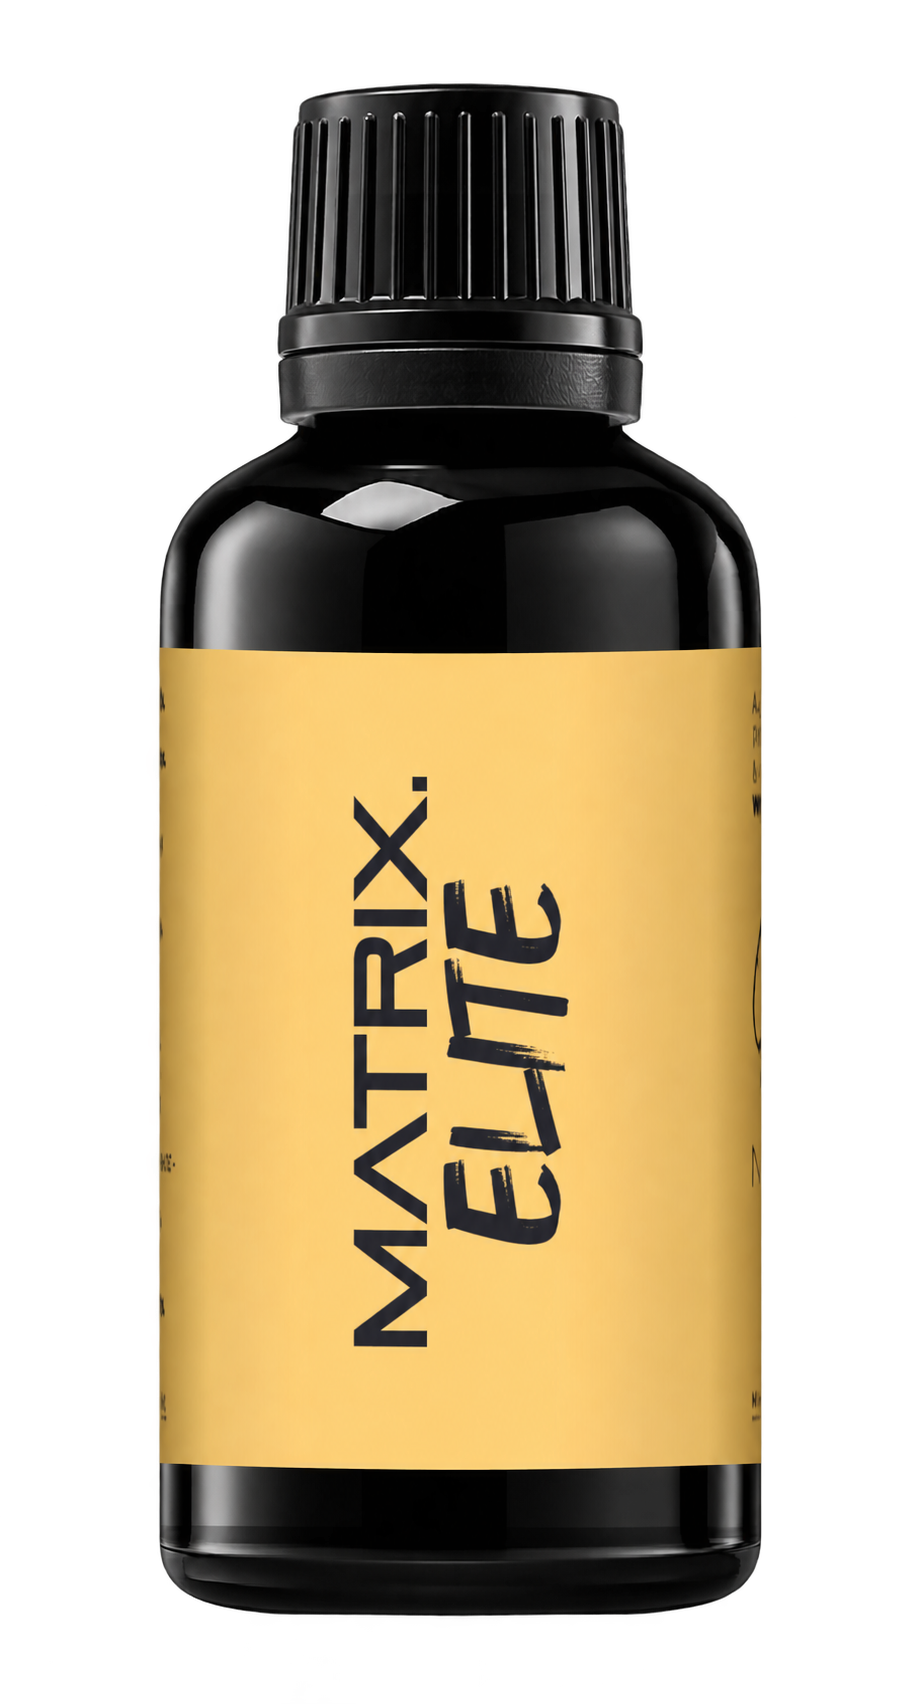
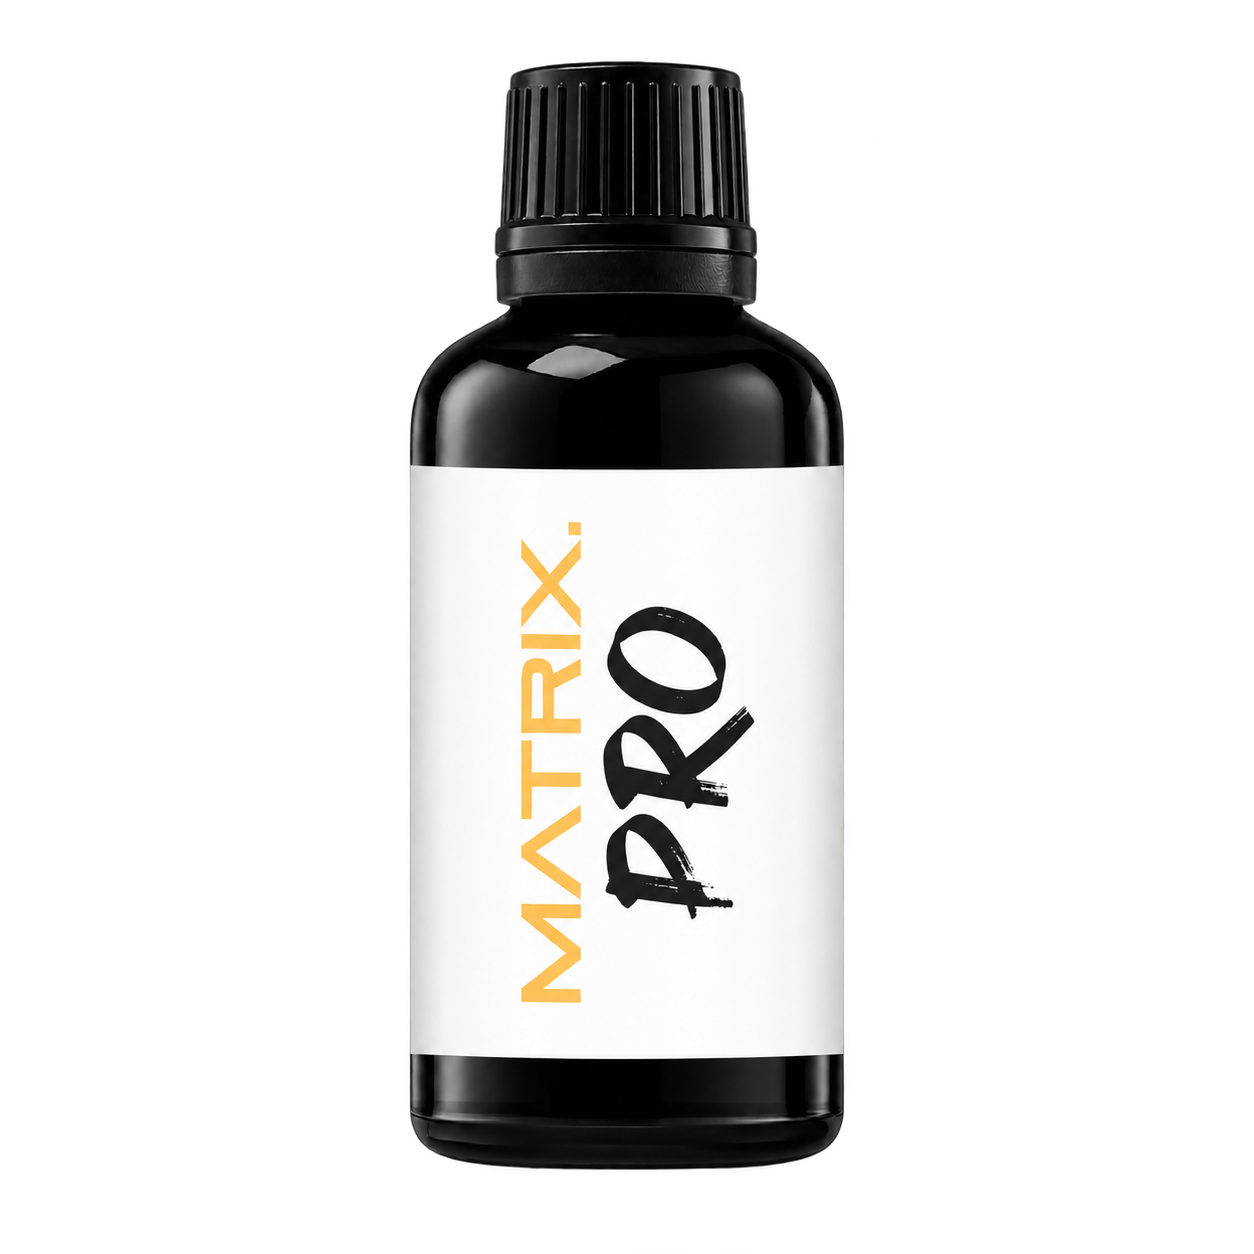
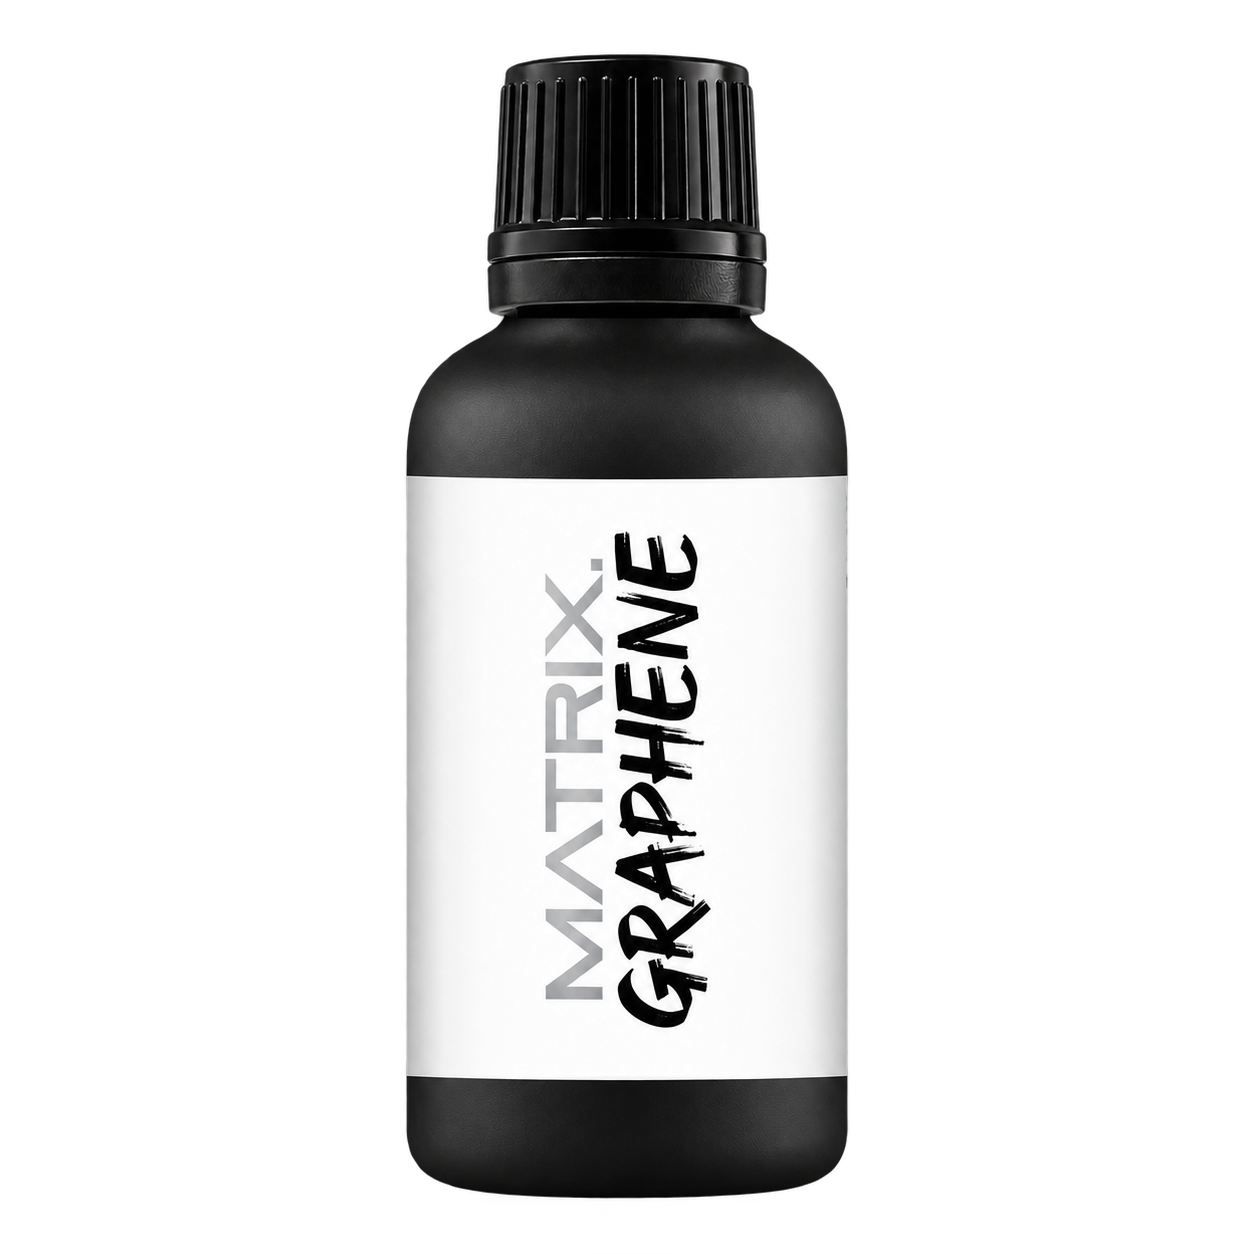
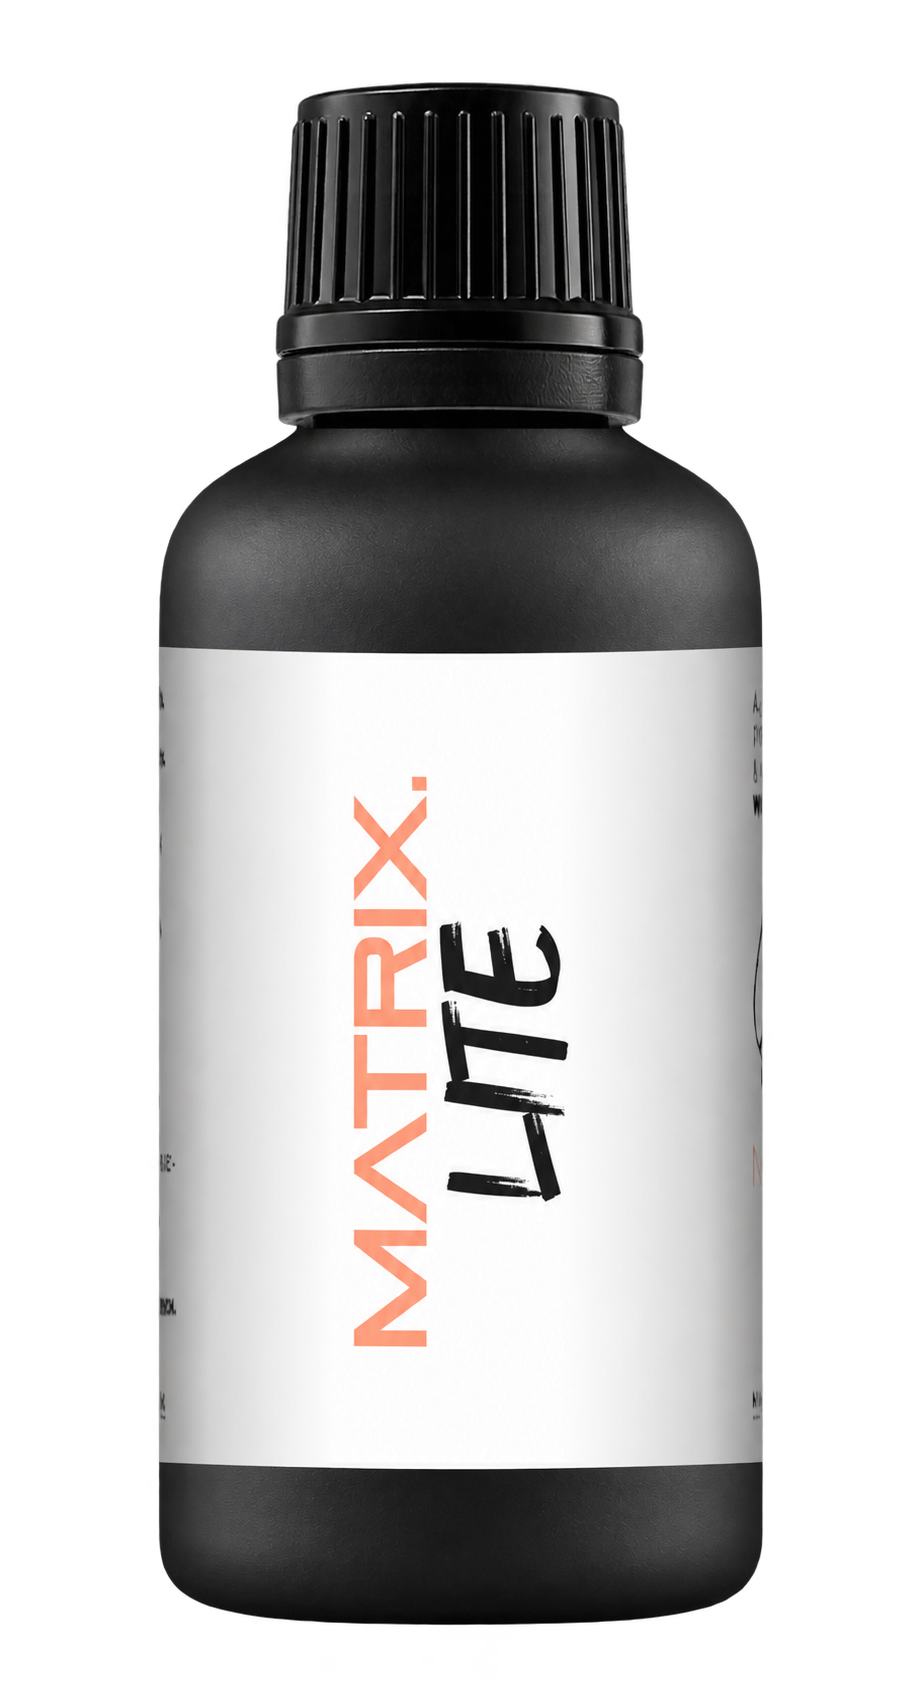
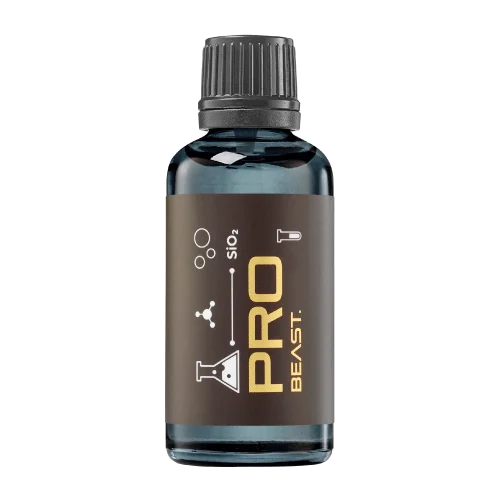
A full polishing range.
From cutting and one-step correction to final finishing.
Specialist chemistry. Expert application.
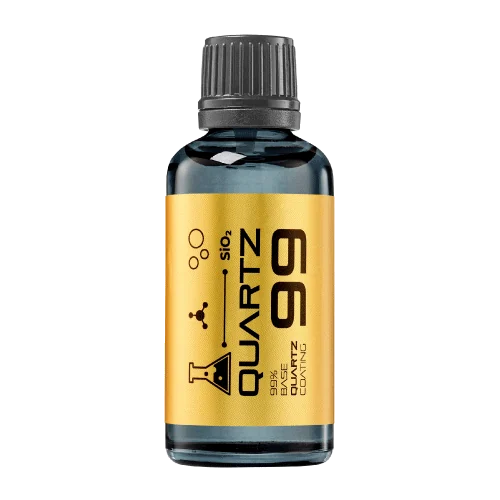 QUARTZ99 / CERAMIC BASE COAT
The foundation of your coating system.
A layerable quartz base coat designed for mechanical protection. Pair it with a suitable top coat to create the final finish.
For application by NANOLAB certified installers only.
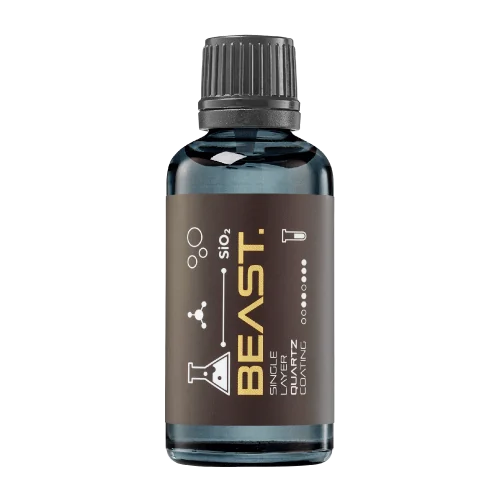
Four formulas. Extended working time. Find the coating for your finish.
Explore the BEAST family of ceramic coatings.
Find the coating for each exterior surface.
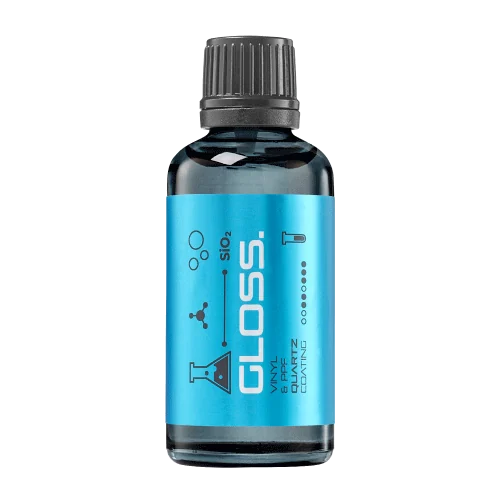 PPF & VINYLGLOSSProtection for glossy films and wraps.Discover
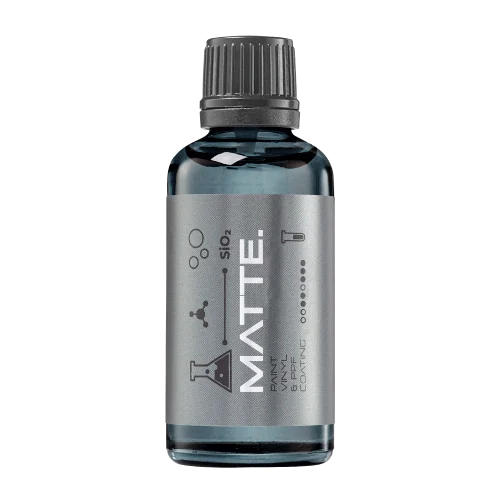 MATTE & SATINMATTEProtection that respects the finish.Discover
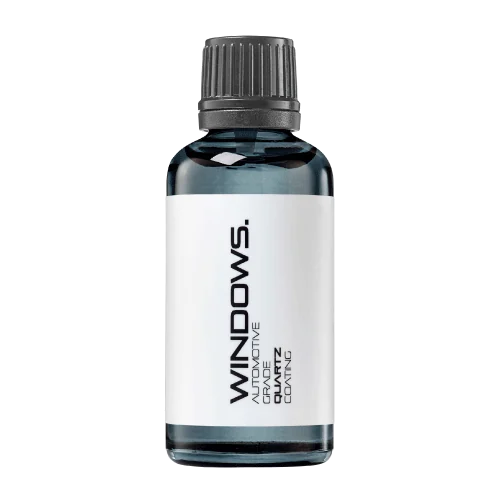 GLASSWINDOWSExplore dedicated glass protection.Discover
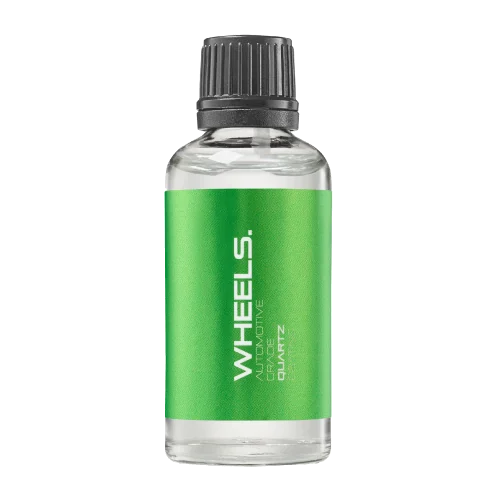 WHEEL PROTECTIONWHEELSA dedicated coating for your wheels.Discover
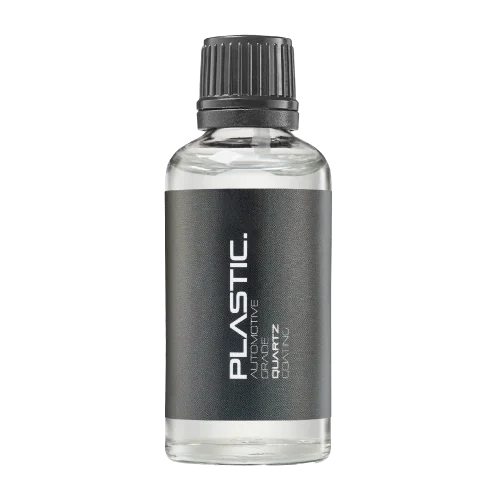 TRIM PROTECTIONPLASTICProtection for plastic surfaces.Discover
Dedicated care for the surfaces inside.
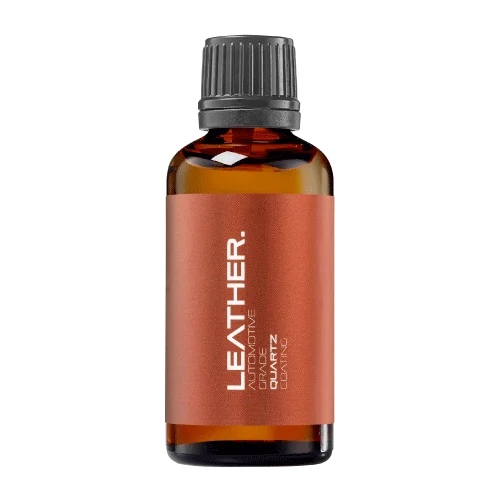 LEATHER SURFACESLEATHERDiscover NANOLAB leather protection.Discover PLASTIC SURFACESPLASTICProtection for interior plastic surfaces.Discover TEXTILE SURFACESFABRICExplore the latest fabric formulation.Discover
Spray protection, maintenance and upcoming wash products.
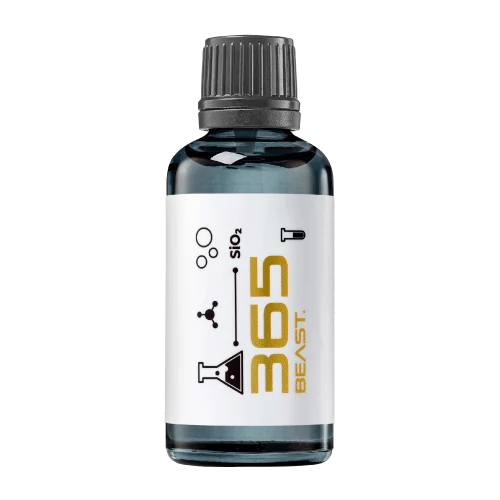 MAINTENANCEBEAST 365Explore the BEAST maintenance range.Discover
Next in washing, cleaning & care.
Ceramic protection for boats and yachts.
An easy-to-apply ceramic coating with an established track record on boats and yachts around the world.
Results vary with surface preparation, exposure and maintenance.
Read 50 MARINE guides →Explore MARINEProtection for the surfaces you live with.
A look at what we’re developing.
From cutting and one-step correction to final finishing.
A wider range for professional vehicle care.
Taking shape alongside BEAST & MATRIX.
Practical guidance for your next coating project.
Explore all guides →
Diagnose a shiny patch on brushed stainless steel before using abrasives, and distinguish removable residue from a locally changed surface finish.
Updated · NANOLAB Knowledge

A bright patch on brushed stainless steel often attracts more rubbing because it looks like a stubborn stain. If the surface texture has already changed, that response can enlarge the mismatch. First establish whether the patch is removable material, a protection-layer difference or an altered finish.
Ask what contacted the area: a cleaner, polishing paste, abrasive pad, adhesive, protective film or repeated hand contact. Photograph the patch under consistent lighting from more than one direction. Brushed finishes are directional, so changing the viewing angle can change the apparent contrast without changing the surface.
Identify the exact metal finish and any factory coating. Do not assume every brushed-looking panel can be refinished locally with a generic abrasive.
Where appropriate, use the approved routine cleaning method on a small area and evaluate it dry. Keep the tool clean and avoid aggressive pressure. The aim is to determine whether material is sitting on the surface, not to force the patch to disappear.
| Finding | Next decision |
|---|---|
| Patch disappears after supported cleaning | Address the residue source and normal care |
| Gloss difference remains but texture is unclear | Seek finish identification and closer assessment |
| Directional texture is visibly flattened or changed | Refer for controlled refinishing advice |
| Colour coating or protective film is damaged | Follow that system’s repair route |
Abrasives remove or modify surface material. Matching the original grain can require more than polishing the brightest point. The repair may need to encompass a defined feature or complete panel to achieve acceptable appearance, and that scope belongs with a suitably experienced finisher.
The BSSA’s cleaning guidance highlights checking whether the result matches the original finish and using specialists when necessary. It does not make a general cleaning recipe an approval to reshape every decorative surface.
If refinishing is recommended, agree the target appearance on suitable sample material or an approved area. Assess it beside the original under the actual viewing conditions. Record grain direction, sheen and boundary visibility. Do not promise an invisible local repair without evidence that the particular finish can be matched.
In an illustrative case, a small circular patch remains brighter after approved cleaning and its grain appears less distinct. Applying a protective coating over it may preserve that contrast rather than conceal it. The finish decision should therefore come before the protection decision.
Once cleaning or refinishing is accepted, confirm the suitability of any proposed nano coating for the final finish. Preserve before-and-after photographs and care instructions. Explain that routine maintenance should stop if a persistent mark requires increasing abrasion.
The useful outcome is not simply a shinier piece of metal. It is a consistent intended finish, a controlled repair scope and a maintenance method that does not recreate the problem.
These sources support the identified technical concepts. The planning examples in this guide are illustrative and are not NANOLAB performance test results.
Discuss your surface and intended use with NANOLAB. Follow the current instructions for the exact product when planning application and care.
 Brushed-Metal Grain Direction and Water Flow: Compare Both Orientations