


A full polishing range.
From cutting and one-step correction to final finishing.
Specialist chemistry. Expert application.
 QUARTZ99 / CERAMIC BASE COAT
The foundation of your coating system.
A layerable quartz base coat designed for mechanical protection. Pair it with a suitable top coat to create the final finish.
For application by NANOLAB certified installers only.
Four formulas. Extended working time. Find the coating for your finish.
Explore the BEAST family of ceramic coatings.
Find the coating for each exterior surface.
 PPF & VINYLGLOSSProtection for glossy films and wraps.Discover
 MATTE & SATINMATTEProtection that respects the finish.Discover
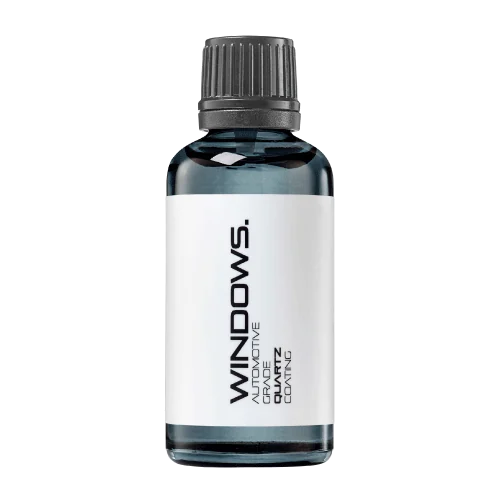 GLASSWINDOWSExplore dedicated glass protection.Discover
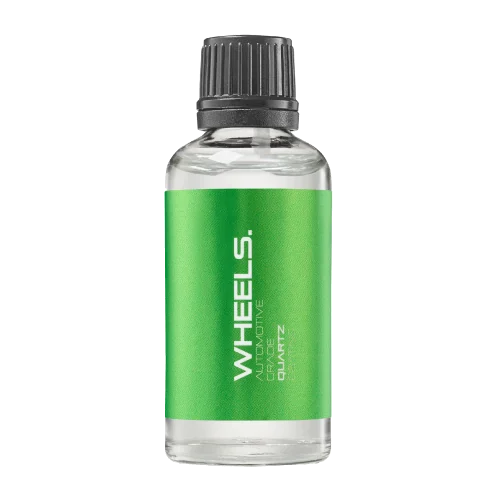 WHEEL PROTECTIONWHEELSA dedicated coating for your wheels.Discover
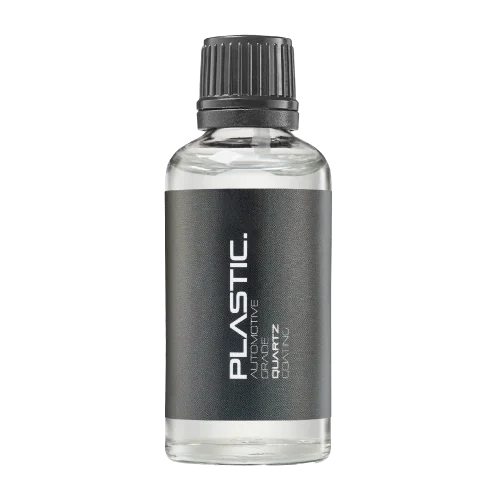 TRIM PROTECTIONPLASTICProtection for plastic surfaces.Discover
Dedicated care for the surfaces inside.
 LEATHER SURFACESLEATHERDiscover NANOLAB leather protection.Discover PLASTIC SURFACESPLASTICProtection for interior plastic surfaces.Discover TEXTILE SURFACESFABRICExplore the latest fabric formulation.Discover
Spray protection, maintenance and upcoming wash products.
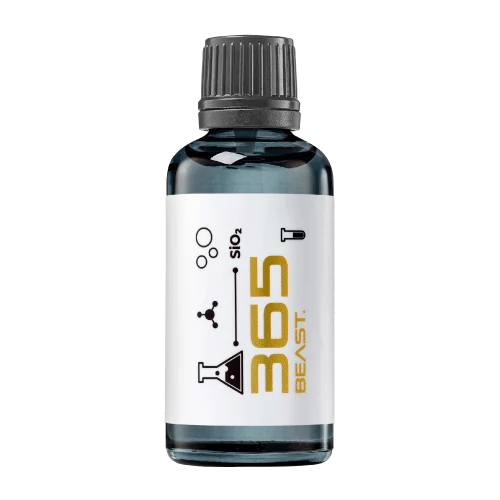 MAINTENANCEBEAST 365Explore the BEAST maintenance range.Discover
Next in washing, cleaning & care.
Ceramic protection for boats and yachts.
An easy-to-apply ceramic coating with an established track record on boats and yachts around the world.
Results vary with surface preparation, exposure and maintenance.
Read 50 MARINE guides →Explore MARINEProtection for the surfaces you live with.
A look at what we’re developing.
From cutting and one-step correction to final finishing.
A wider range for professional vehicle care.
Taking shape alongside BEAST & MATRIX.
Practical guidance for your next coating project.
Explore all guides →
Plan stainless-steel cleaning beside painted cabinetry by controlling the liquid path, cloth transfer and drying at vulnerable material boundaries.
Updated · NANOLAB Knowledge

A stainless-steel panel may share a cabinet with painted doors, adhesive joints and moisture-sensitive edges. Cleaning the metal successfully while damaging a neighbour is still a failed maintenance process. Plan the route of the cleaner and the tool across the whole assembly.
Confirm whether the metal is bare stainless steel, factory-treated or protected with another finish. Identify the cabinet coating and relevant care instructions. A metallic appearance does not prove that the exposed surface is bare metal. Record any existing chips, swollen edges or worn joints before wet work.
The British Stainless Steel Association advises assessing cleaning methods on a suitable small area and checking the resulting finish. That material-specific advice must be combined with the cabinet supplier’s instructions; approval for the stainless surface alone is incomplete.
Consider gravity, seams, handles, undersides and the edge of the worktop. Where will applied liquid run, collect or be transferred by a cloth? Inspect the lower boundary as well as the surface being cleaned. A horizontal ledge can retain cleaner even when the vertical panel looks dry.
| Boundary | Control to establish |
|---|---|
| Metal beside painted door | Compatible application without uncontrolled overspray |
| Metal above a cabinet edge | Runoff management and prompt permitted residue removal |
| Handle touching two materials | A cleaning method suitable for both contact zones |
| Joint or seam | Avoid saturation and follow assembly care guidance |
A cloth carrying metal cleaner can transfer it to paint after the spray bottle has been put away. Define which cloth serves which zone and when it is replaced. Keep clean and used tools separated. Follow the finish direction where relevant to stainless care, while avoiding dragging grit across neighbouring painted areas.
Do not mix chemicals or use one product to neutralise another on the cabinet. If accidental contact occurs, follow the affected material and product instructions rather than improvising an additional reaction.
Test the agreed sequence on a suitable representative area. Inspect both materials dry under useful lighting, including the joint and lower edge. Record appearance, residue and any unexpected softening or change. A trial that only photographs the stainless centre misses the point of the boundary assessment.
For example, an illustrative service might produce a clean metal face but leave a visible run along a painted edge. The process needs correction before repeating it across the installation, even if the cleaner is suitable for the metal.
The final work instruction should identify the product, application method, tools, excluded areas and the dry inspection route. Explain who reviews an unfamiliar material or damaged edge. Revisit the instruction when cabinet finishes or cleaning products change.
A nano coating may alter the metal’s cleaning behaviour, but it does not make adjacent paint, seals or cabinet construction compatible with every cleaner. Successful care protects the assembly as a whole.
These sources support the identified technical concepts. The planning examples in this guide are illustrative and are not NANOLAB performance test results.
Discuss your surface and intended use with NANOLAB. Follow the current instructions for the exact product when planning application and care.

 Brushed Stainless Steel with One Shiny Patch: Avoid Enlarging the Repair