
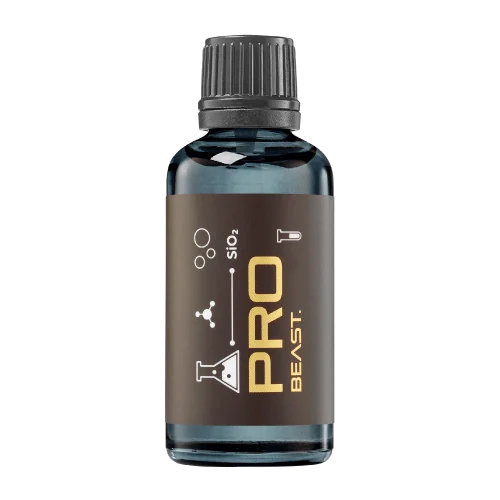
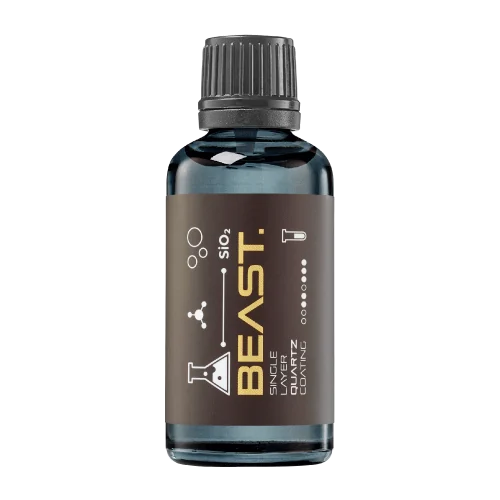
IN DEVELOPMENT / MATRIX SERIES
MATRIX ELITE P7020
The next flagship of the MATRIX series.
75%Solids content
Specialist chemistry. Expert application.
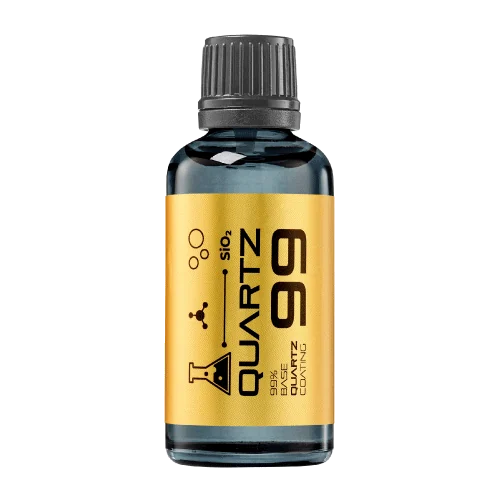 QUARTZ99 / CERAMIC BASE COAT
The foundation of your coating system.
A layerable quartz base coat designed for mechanical protection. Pair it with a suitable top coat to create the final finish.
For application by NANOLAB certified installers only.
Extended working time. A coating for the way you work.
 P5012MATRIX PRORefined protection for glossy finishes.Application1/10Discover P503GMATRIX GRAPHENEVersatile protection for gloss and matte finishes.Application1/10Discover P303MATRIX LITEFor efficient, high-volume detailing.Application1/10Discover
 Explore the BEAST family of ceramic coatings.
Find the coating for each exterior surface.
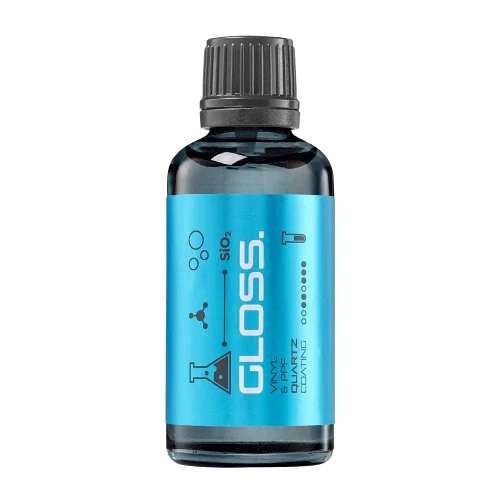 PPF & VINYLGLOSSProtection for glossy films and wraps.Application3/10Discover
 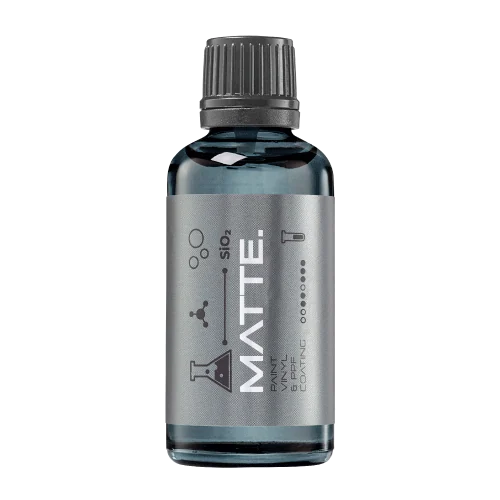 MATTE & SATINMATTEProtection that respects the finish.Application3/10Discover
 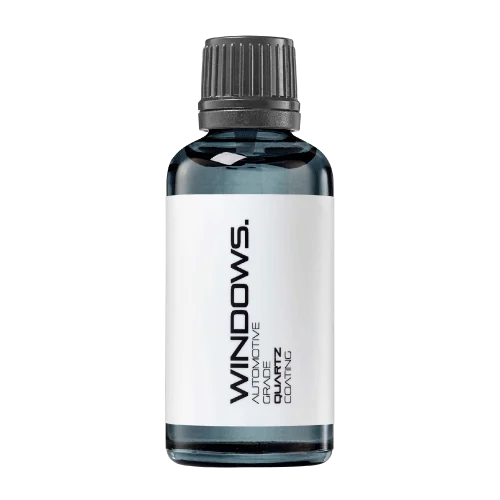 GLASSWINDOWSExplore dedicated glass protection.Application3/10Discover
 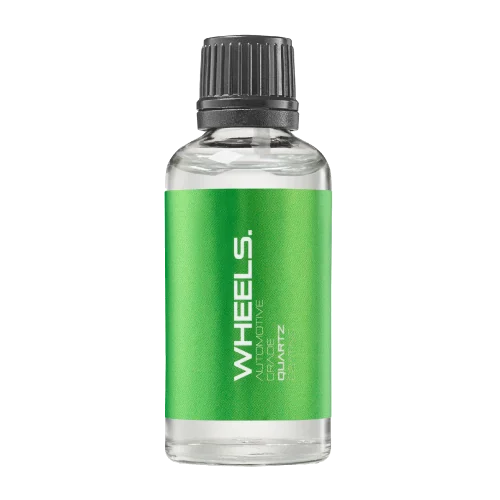 WHEEL PROTECTIONWHEELSA dedicated coating for your wheels.Application2/10Discover
 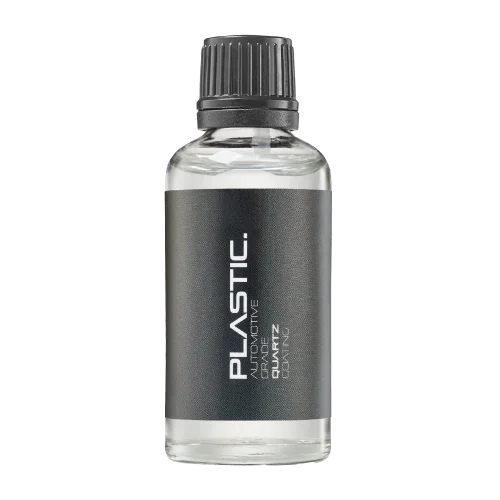 TRIM PROTECTIONPLASTICProtection for plastic surfaces.Application2/10Discover
 Dedicated care for the surfaces inside.
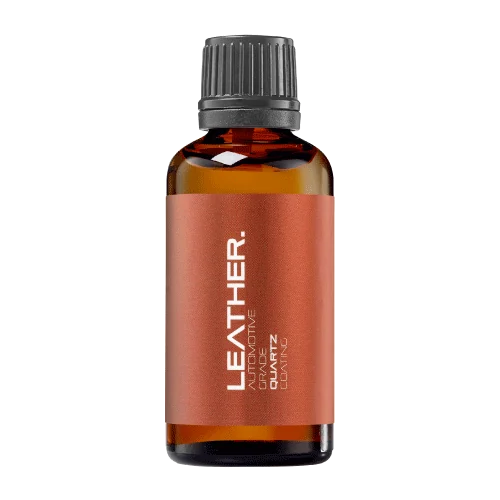 LEATHER SURFACESLEATHERDiscover NANOLAB leather protection.Application5/10Discover PLASTIC SURFACESPLASTICProtection for interior plastic surfaces.Application2/10Discover TEXTILE SURFACESFABRICExplore the latest fabric formulation.Application2/10Discover
 Spray protection, maintenance and upcoming wash products.
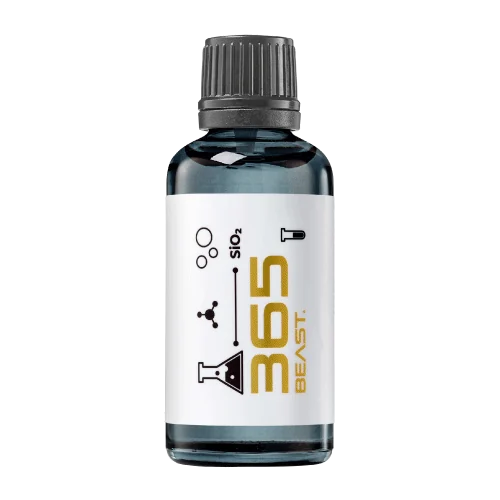 MAINTENANCEBEAST 365Explore the BEAST maintenance range.Application4/10Discover
 Next in washing, cleaning & care.
Ceramic protection for boats and yachts.
An easy-to-apply ceramic coating with an established track record on boats and yachts around the world.
Results vary with surface preparation, exposure and maintenance.
Read 50 MARINE guides →Explore MARINE Application4/10Protection for the surfaces you live with.
A look at what we’re developing.
The next flagship of the MATRIX series.
From cutting and one-step correction to final finishing.
A wider range for professional vehicle care.
Taking shape alongside BEAST & MATRIX.
Practical guidance for your next coating project.
Explore all guides →
Shower glass can appear very different depending on reflections, lighting and whether it is wet.
Updated · NANOLAB Knowledge
Shower glass can appear very different depending on reflections, lighting and whether it is wet. Consistent photographs make the result easier to assess and more useful for future support.
Clean as appropriate for the assessment and record existing defects before preparation. Include a close view and a wider image of the enclosure. Use the same room lighting and similar angles for the later comparison.
If limescale removal or restoration is included, photograph the accepted prepared glass before coating. This avoids attributing all visible improvement to the protective layer. Do not compare a dirty dry panel with a wet final panel without explaining the difference.
Add dates and the recent cleaning history to later images. Photograph persistent marks before repeated correction attempts change the area. A dramatic reflection is less informative than a clear record showing ordinary appearance under consistent conditions. Use those records to discuss maintenance and renewal, rather than treating photographs alone as proof of a guaranteed lifespan.