
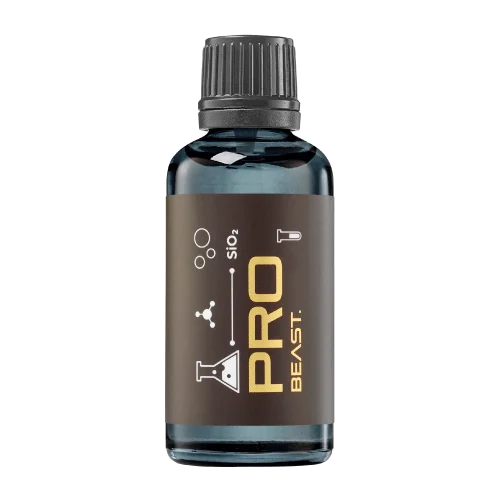

A full polishing range.
From cutting and one-step correction to final finishing.
Specialist chemistry. Expert application.
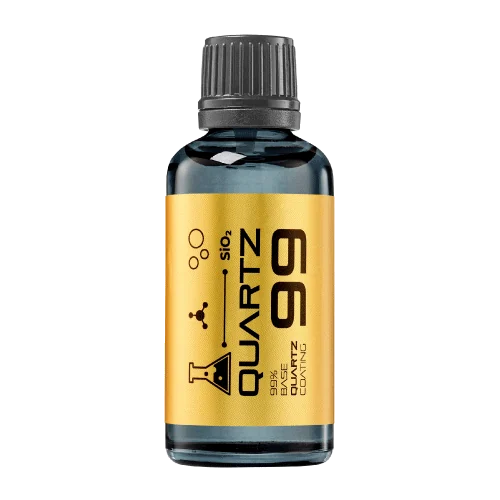 QUARTZ99 / CERAMIC BASE COAT
The foundation of your coating system.
A layerable quartz base coat designed for mechanical protection. Pair it with a suitable top coat to create the final finish.
For application by NANOLAB certified installers only.
Four formulas. Extended working time. Find the coating for your finish.
Explore the BEAST family of ceramic coatings.
Find the coating for each exterior surface.
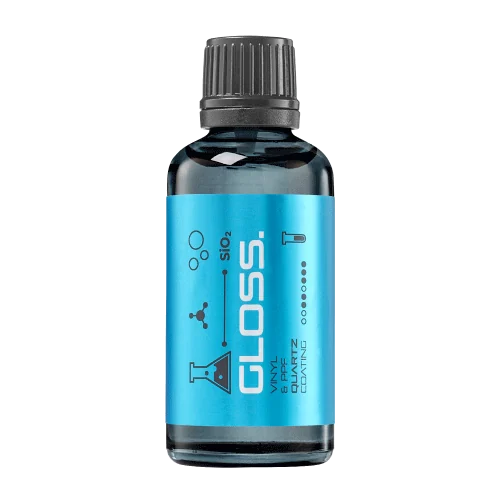 PPF & VINYLGLOSSProtection for glossy films and wraps.Discover
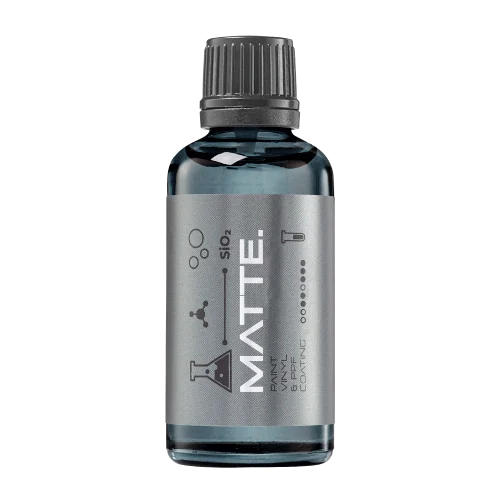 MATTE & SATINMATTEProtection that respects the finish.Discover
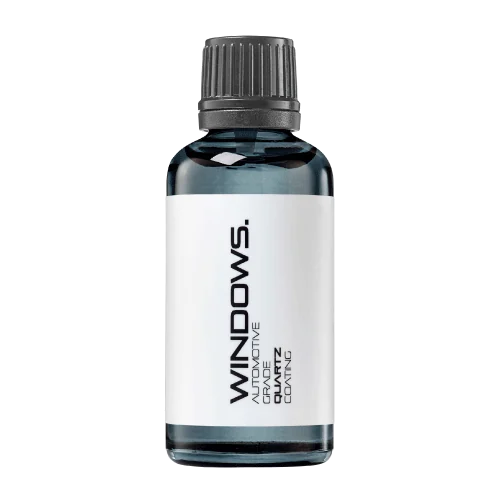 GLASSWINDOWSExplore dedicated glass protection.Discover
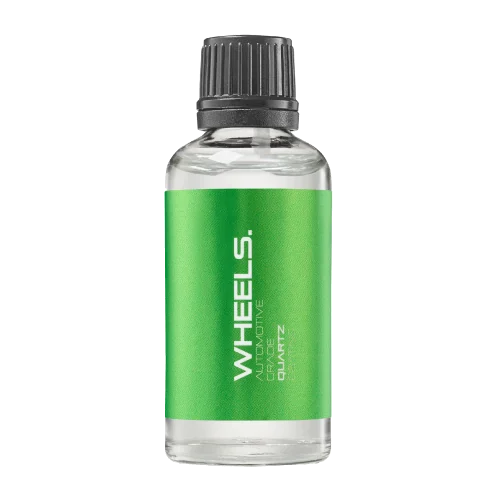 WHEEL PROTECTIONWHEELSA dedicated coating for your wheels.Discover
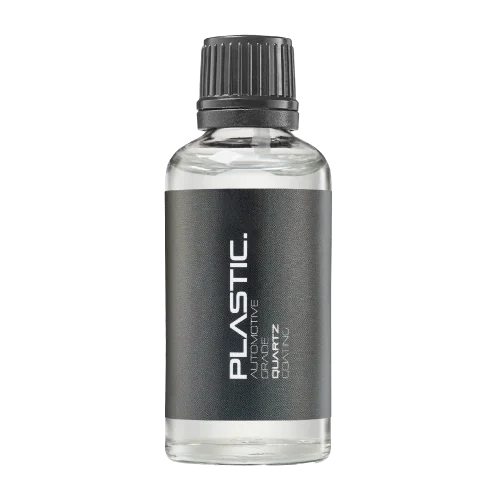 TRIM PROTECTIONPLASTICProtection for plastic surfaces.Discover
Dedicated care for the surfaces inside.
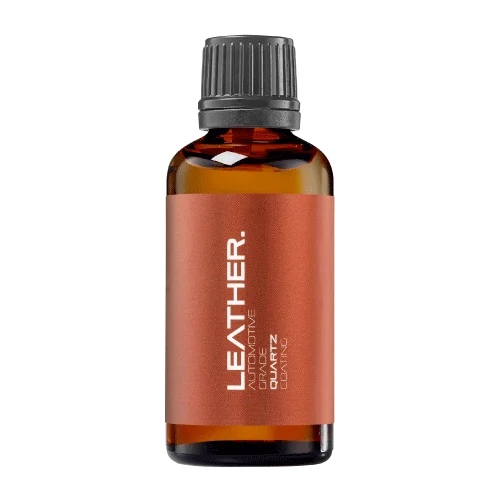 LEATHER SURFACESLEATHERDiscover NANOLAB leather protection.Discover PLASTIC SURFACESPLASTICProtection for interior plastic surfaces.Discover TEXTILE SURFACESFABRICExplore the latest fabric formulation.Discover
Spray protection, maintenance and upcoming wash products.
 MAINTENANCEBEAST 365Explore the BEAST maintenance range.Discover
Next in washing, cleaning & care.
Ceramic protection for boats and yachts.
An easy-to-apply ceramic coating with an established track record on boats and yachts around the world.
Results vary with surface preparation, exposure and maintenance.
Read 50 MARINE guides →Explore MARINEProtection for the surfaces you live with.
A look at what we’re developing.
From cutting and one-step correction to final finishing.
A wider range for professional vehicle care.
Taking shape alongside BEAST & MATRIX.
Practical guidance for your next coating project.
Explore all guides →
Assess glossy black pillar trim by material, defect depth and repair scope before choosing polishing, compatible protection or specialist replacement.
Updated · NANOLAB Knowledge
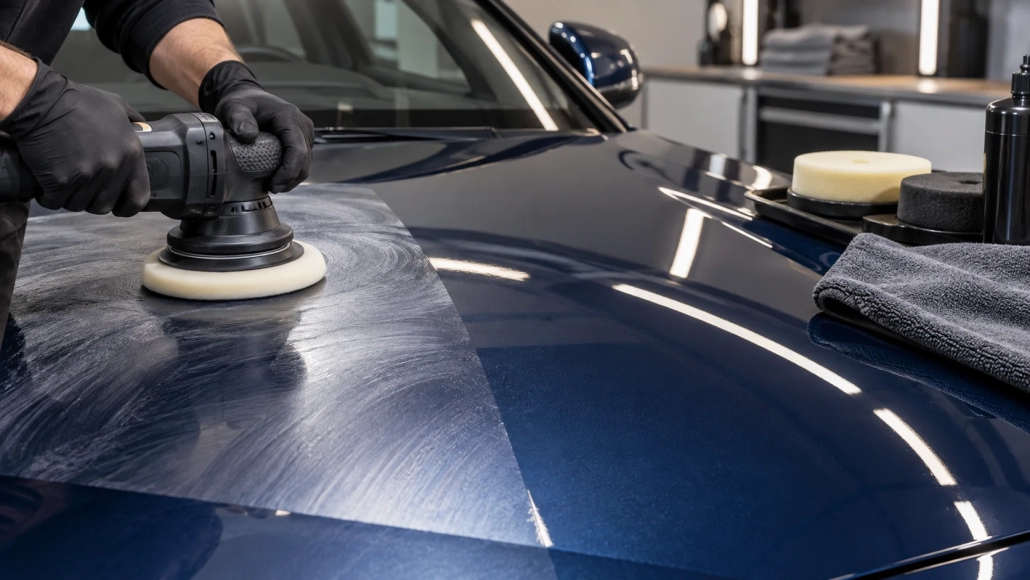
Glossy black pillar trim can show fine marks prominently, yet two visually similar pieces may have different constructions. A painted trim, coated plastic and film-covered pillar should not automatically receive the same correction process. The first decision is which surface you are actually working on.
Check the vehicle information, repair history and visible boundaries. Look for film edges, previous refinishing, peeling, cracks or exposed material. If construction is uncertain, seek clarification rather than assuming a clear-coat thickness or polishing allowance. A conventional paint-thickness reading may not answer the question on that particular part.
| Observation | Useful next step |
|---|---|
| Light surface marring on an identified polishable finish | Assess a conservative test area |
| Cloudiness associated with surface residue | Evaluate compatible cleaning first |
| Cracking, peeling or exposed underlying material | Refer for repair or replacement assessment |
| Marks within a film system | Follow the film manufacturer’s assessment route |
A bright inspection light can help reveal marks, but does not establish their depth. Record the clean, dry appearance before attempting to improve it.
Ask whether the goal is a practical improvement or removal of every visible line. On a sensitive trim, chasing a remaining defect can create more risk than value. Agree a stopping point, including any marks intentionally retained because the available evidence does not justify further removal.
Protect neighbouring seals, textured plastics and edges using methods suitable for the vehicle. Keep the work area manageable. The article does not prescribe a pad, speed or abrasive combination because those choices depend on the identified finish and equipment.
Judge the dry result under more than one light position after the approved cleaning step. Check both improvement and unintended change: new haze, uneven gloss, edge disturbance or visible transfer. If the result is uncertain, do not expand it across every pillar.
For example, one trim may improve with a restrained process while the adjacent piece shows cracking that remains unchanged. Matching the appearance does not justify repeatedly polishing the damaged piece. Record two different dispositions: acceptable correction for one, specialist assessment for the other.
Once the finish is accepted, confirm whether the intended coating or protective film is suitable for that exact material and condition. Protection does not reconstruct missing material or eliminate structural cracking. A new film can also change appearance, so any proposal should include a relevant sample or supplier guidance.
Explain how to avoid unnecessary rubbing during routine cleaning and which tools or products were approved. Keep the record local to the pillar trims rather than implying the same process applies to all black plastics. Photographs of the accepted result make the next maintenance visit easier and prevent intentionally retained marks being mistaken for new damage.
Discuss your surface and intended use with NANOLAB. Follow the current instructions for the exact product when planning application and care.
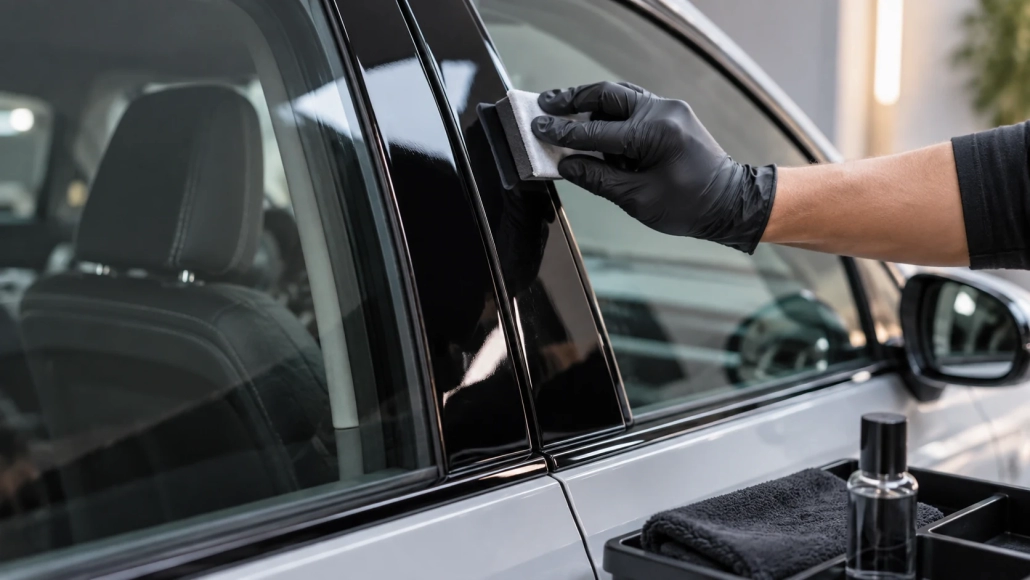
Assess glossy black exterior trim separately from paint and use careful preparation and inspection before selecting a coating.
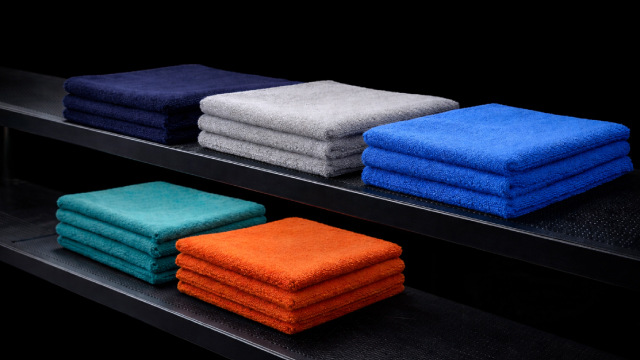
A painted C-pillar often narrows toward glass and trim. Assess its geometry before transferring a large-panel correction process to the area.
 Coating Tests on Curved Panels: Record Drop Position and Local Slope