
Inspecting for Polishing Holograms Before Coating
Identify polishing trails under suitable lighting and verify refinement before applying a ceramic coating to glossy paint.
Updated · NANOLAB Knowledge
Polishing holograms can appear as directional trails that become more noticeable as the light or viewing angle changes. They may be difficult to see under broad workshop lighting, so final inspection should include a suitable directional source.
Inspect a clean, dry surface
Remove residue with the approved preparation method and allow the surface to reach the intended inspection condition. Look along the panel from more than one angle. Avoid judging through a wet film or using a single photograph as the complete assessment.
Compare the pattern with the polishing path. Directional trails may suggest a refinement issue, but residue and reflections can also create misleading shapes. Establish that the mark remains on the clean surface before treating it.
Refine a test area first
Use an appropriate finishing combination and assess a small area. Keep the pad clean and the technique consistent. A refining step should improve clarity without creating new haze or unnecessary abrasion.
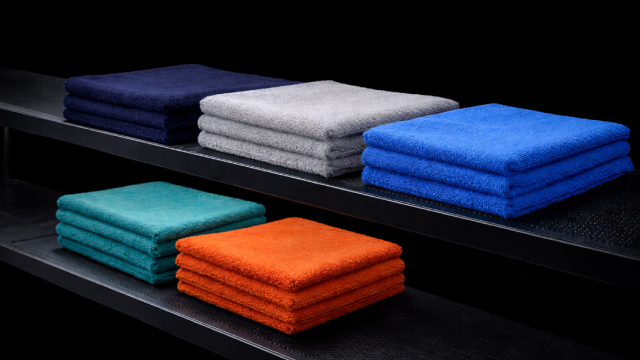
If the appearance changes mainly during wipe-off, investigate the towel and preparation process. Otherwise, repeated machine work may chase marks being introduced after each polishing cycle.
Check different viewing conditions
Inspect the accepted test and completed panel under both directional and diffuse light. Where practical, review the vehicle in daylight without allowing the surface to become unsuitable for further work.
Read finishing sensitive clear coat and inspection lighting. Do not expect a NANOLAB coating to correct holograms; accept the polished finish before beginning coating preparation.