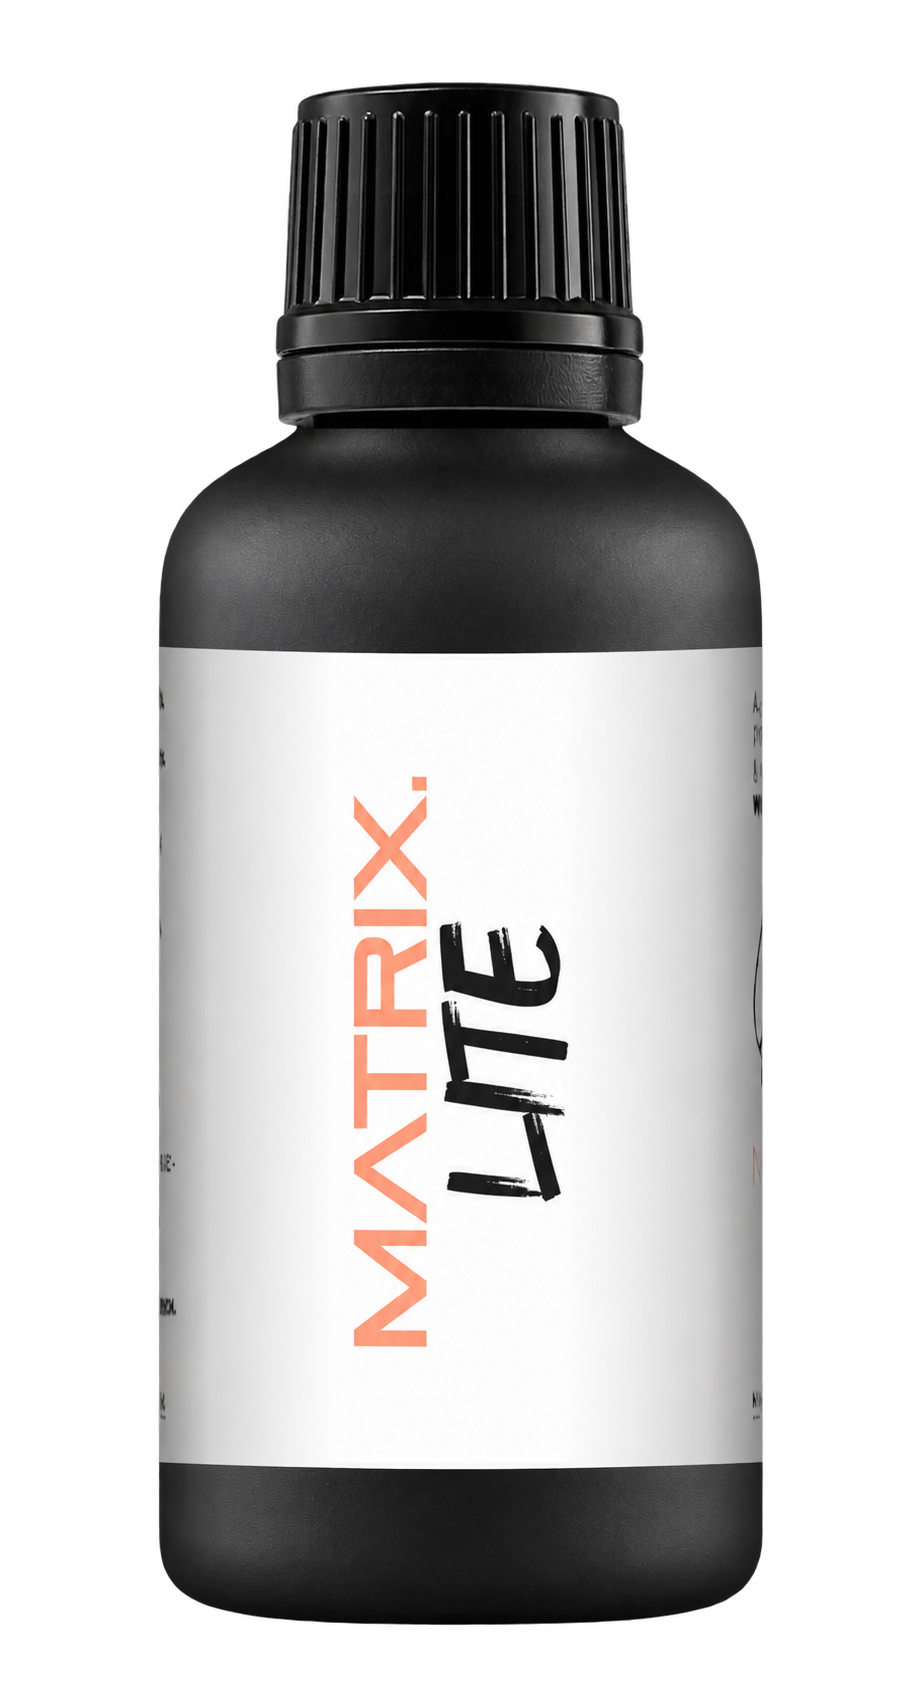
A full polishing range.
From cutting and one-step correction to final finishing.
Specialist chemistry. Expert application.
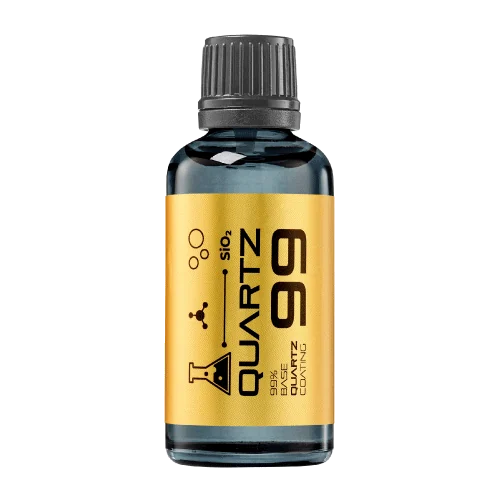 QUARTZ99 / CERAMIC BASE COAT
The foundation of your coating system.
A layerable quartz base coat designed for mechanical protection. Pair it with a suitable top coat to create the final finish.
For application by NANOLAB certified installers only.
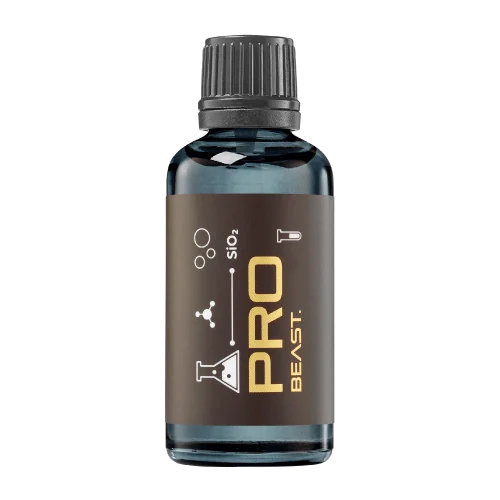
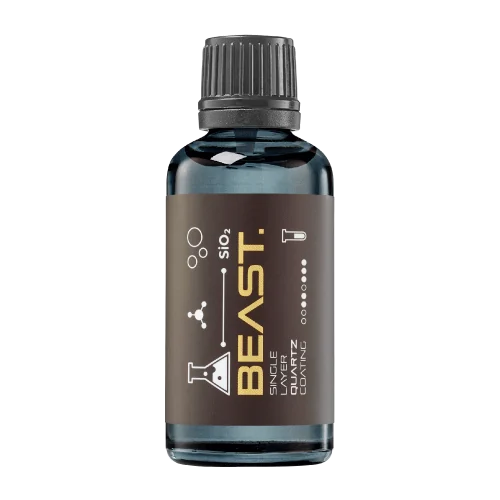
Four formulas. Extended working time. Find the coating for your finish.
Explore the BEAST family of ceramic coatings.
Find the coating for each exterior surface.
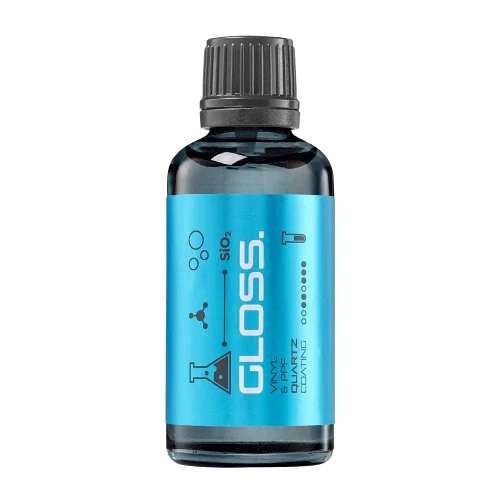 PPF & VINYLGLOSSProtection for glossy films and wraps.Discover
 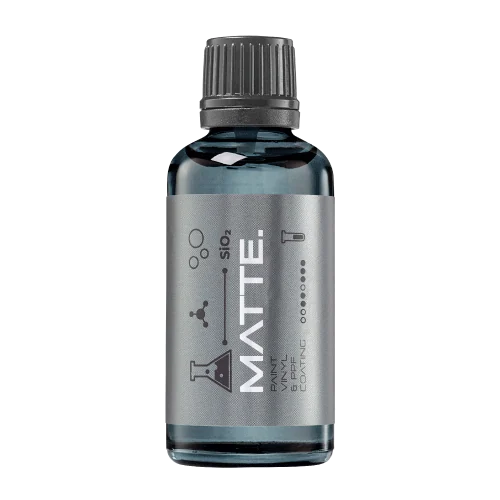 MATTE & SATINMATTEProtection that respects the finish.Discover
 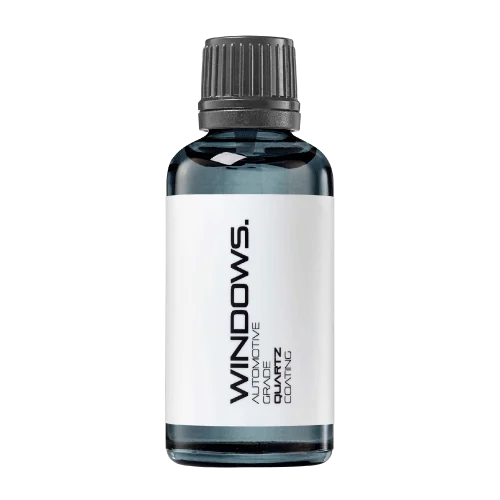 GLASSWINDOWSExplore dedicated glass protection.Discover
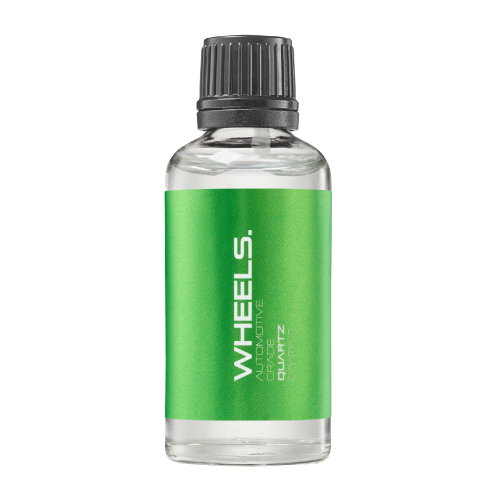
 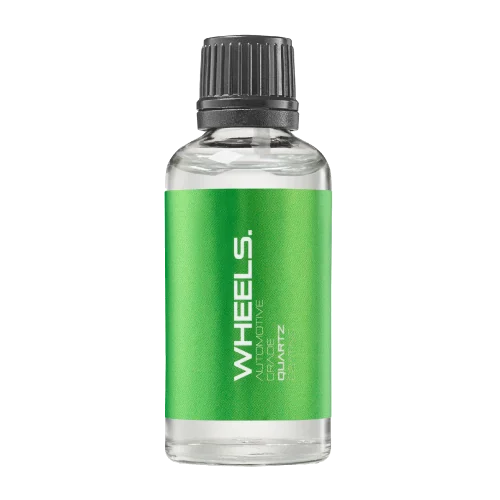 WHEEL PROTECTIONWHEELSA dedicated coating for your wheels.Discover
 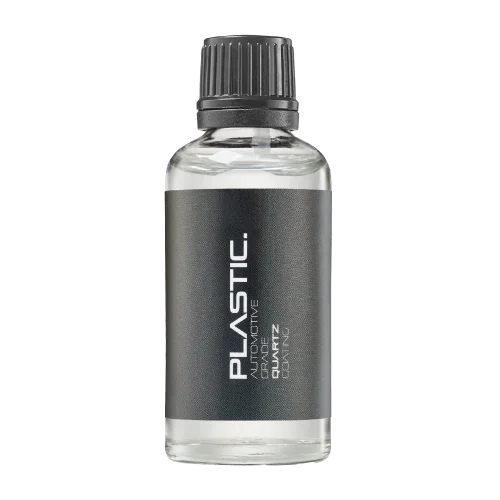 TRIM PROTECTIONPLASTICProtection for plastic surfaces.Discover
 Dedicated care for the surfaces inside.
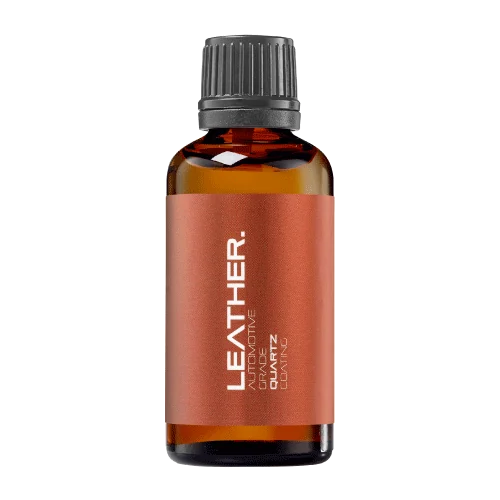 LEATHER SURFACESLEATHERDiscover NANOLAB leather protection.Discover PLASTIC SURFACESPLASTICProtection for interior plastic surfaces.Discover TEXTILE SURFACESFABRICExplore the latest fabric formulation.Discover
 Spray protection, maintenance and upcoming wash products.
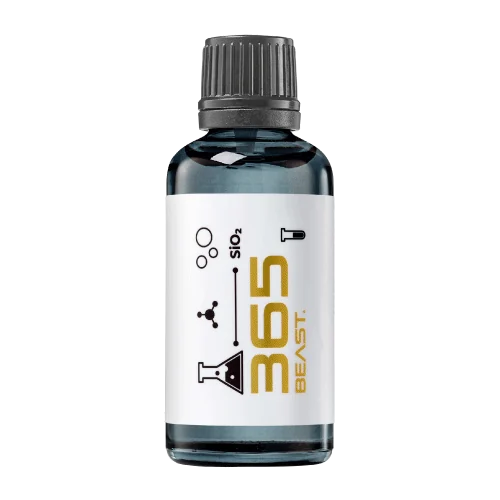 MAINTENANCEBEAST 365Explore the BEAST maintenance range.Discover
 Next in washing, cleaning & care.
Ceramic protection for boats and yachts.
An easy-to-apply ceramic coating with an established track record on boats and yachts around the world.
Results vary with surface preparation, exposure and maintenance.
Read 50 MARINE guides →Explore MARINEProtection for the surfaces you live with.
A look at what we’re developing.
From cutting and one-step correction to final finishing.
A wider range for professional vehicle care.
Taking shape alongside BEAST & MATRIX.
Practical guidance for your next coating project.
Explore all guides →
Target the contamination you cannot wash away.
An iron-oxide remover with a slow-drying, low-odour formula. A purple reaction indicates contact with iron particles before they are rinsed away.
Painted surfaces, wheels, chrome, steel and aluminium, following product instructions
473 ml / 16 fl ozApplication guidance below
The formula turns purple as it reacts with iron oxides.
The slow-drying formulation supports the decontamination process.
Remove bonded contamination before moving on to the next detailing stage.
Choose the right product for your surface. Follow the current application and care guidance.
1 = Easiest · 10 = More technique
Easy to apply with basic preparation and the correct product instructions.
Lower scores mean easier application. Higher scores reflect more technique and familiarity with the process. With experience, even a 10/10 product can feel straightforward.
Read the full instructions before you begin.
Iron remover is a specialized cleaning product designed to remove iron particles and other contaminants from surfaces, especially on cars. Follow these steps to use iron remover safely and effectively:
Preparation:
Application Process:
Post-Application Care:
NANOLAB IRON. has a shelf life of at least 12 months when stored between 0°C / 32°F and 25°C / 77°F in the tightly closed original container.
After opening – must be used within 180 days.
Storage beyond the date specified on the label does not necessarily mean that the product is no longer usable.
In this case however, the properties required for the intended use must be checked for quality assurance reasons.
Request the current safety data sheet from NANOLAB product support before use.
Connect with a distributor for availability and product support.