
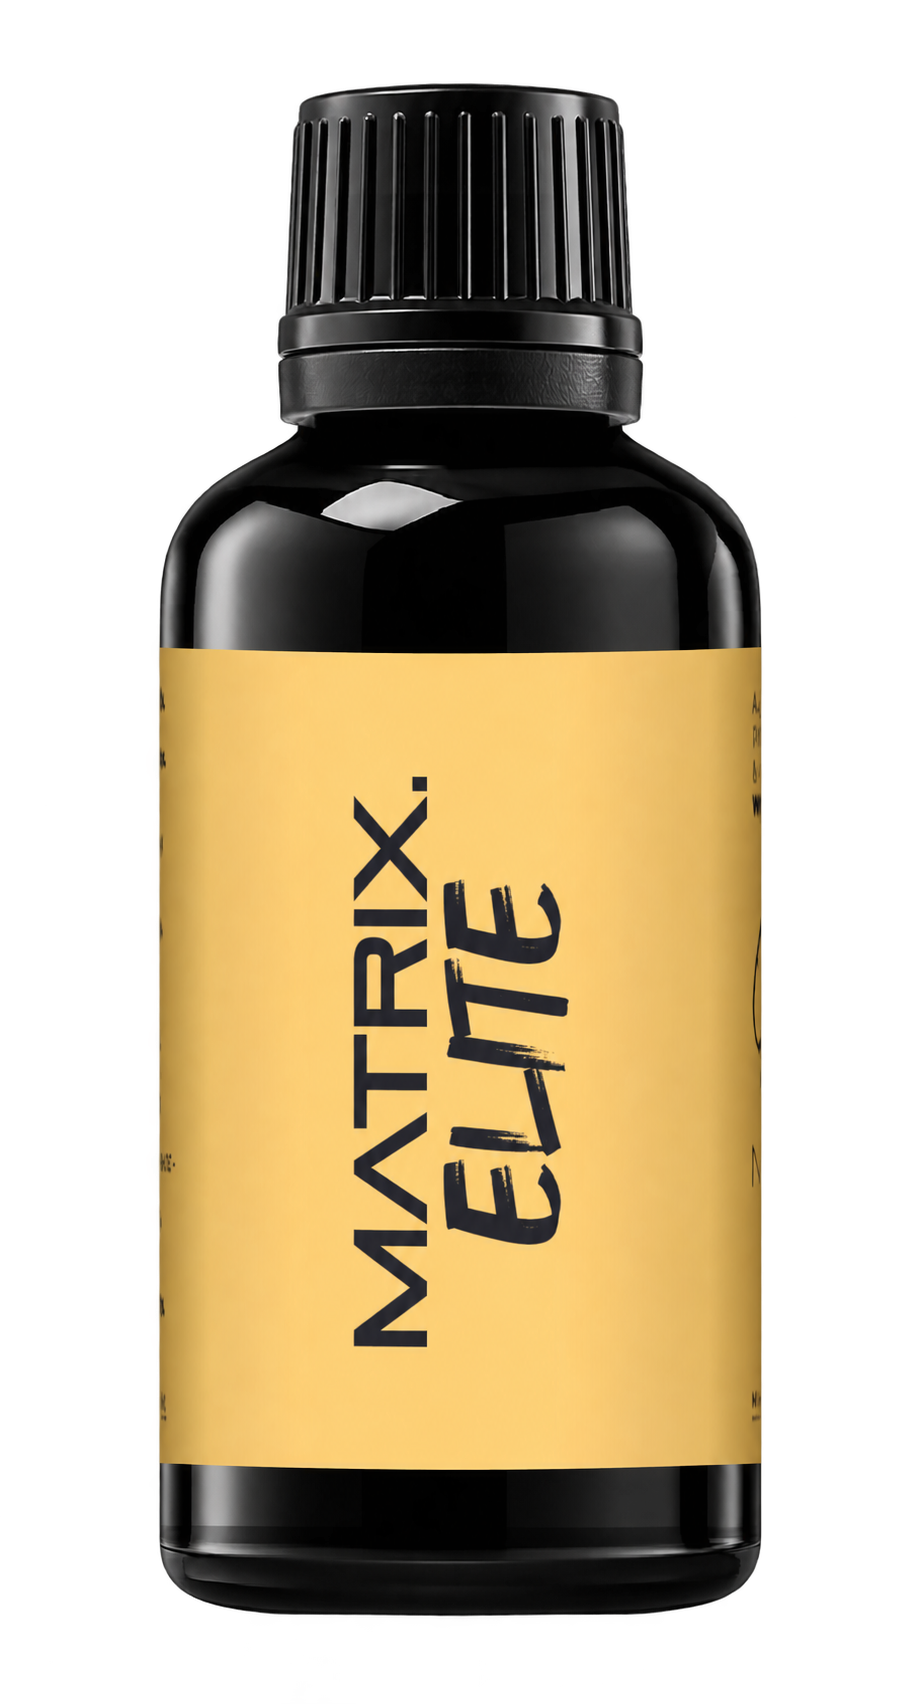
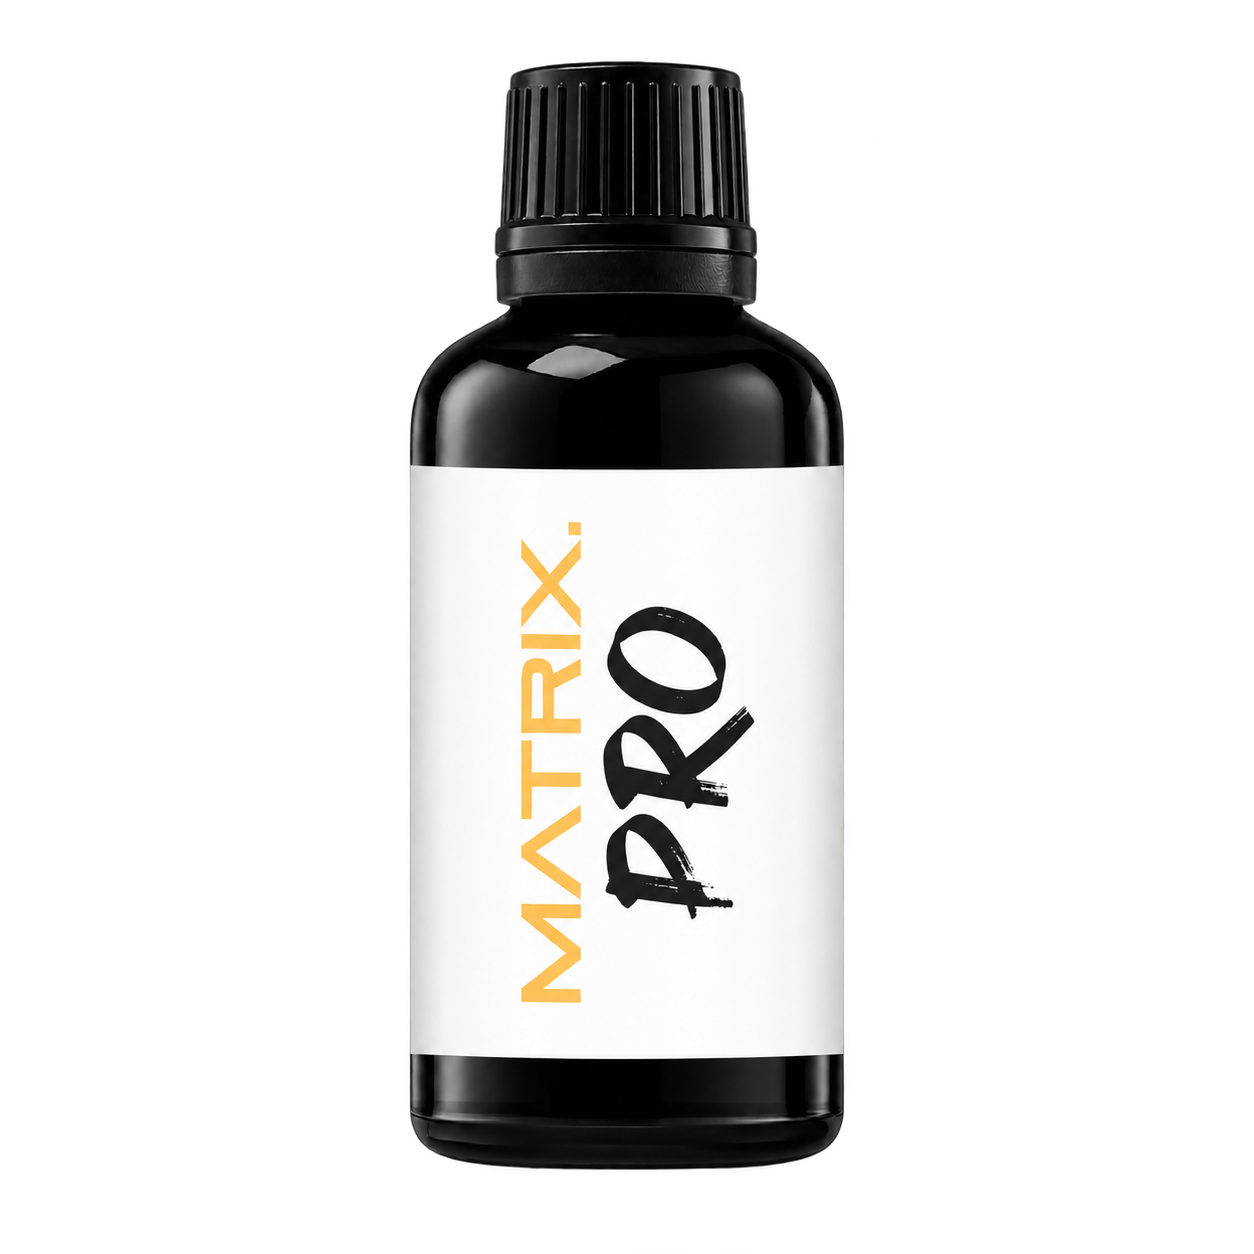
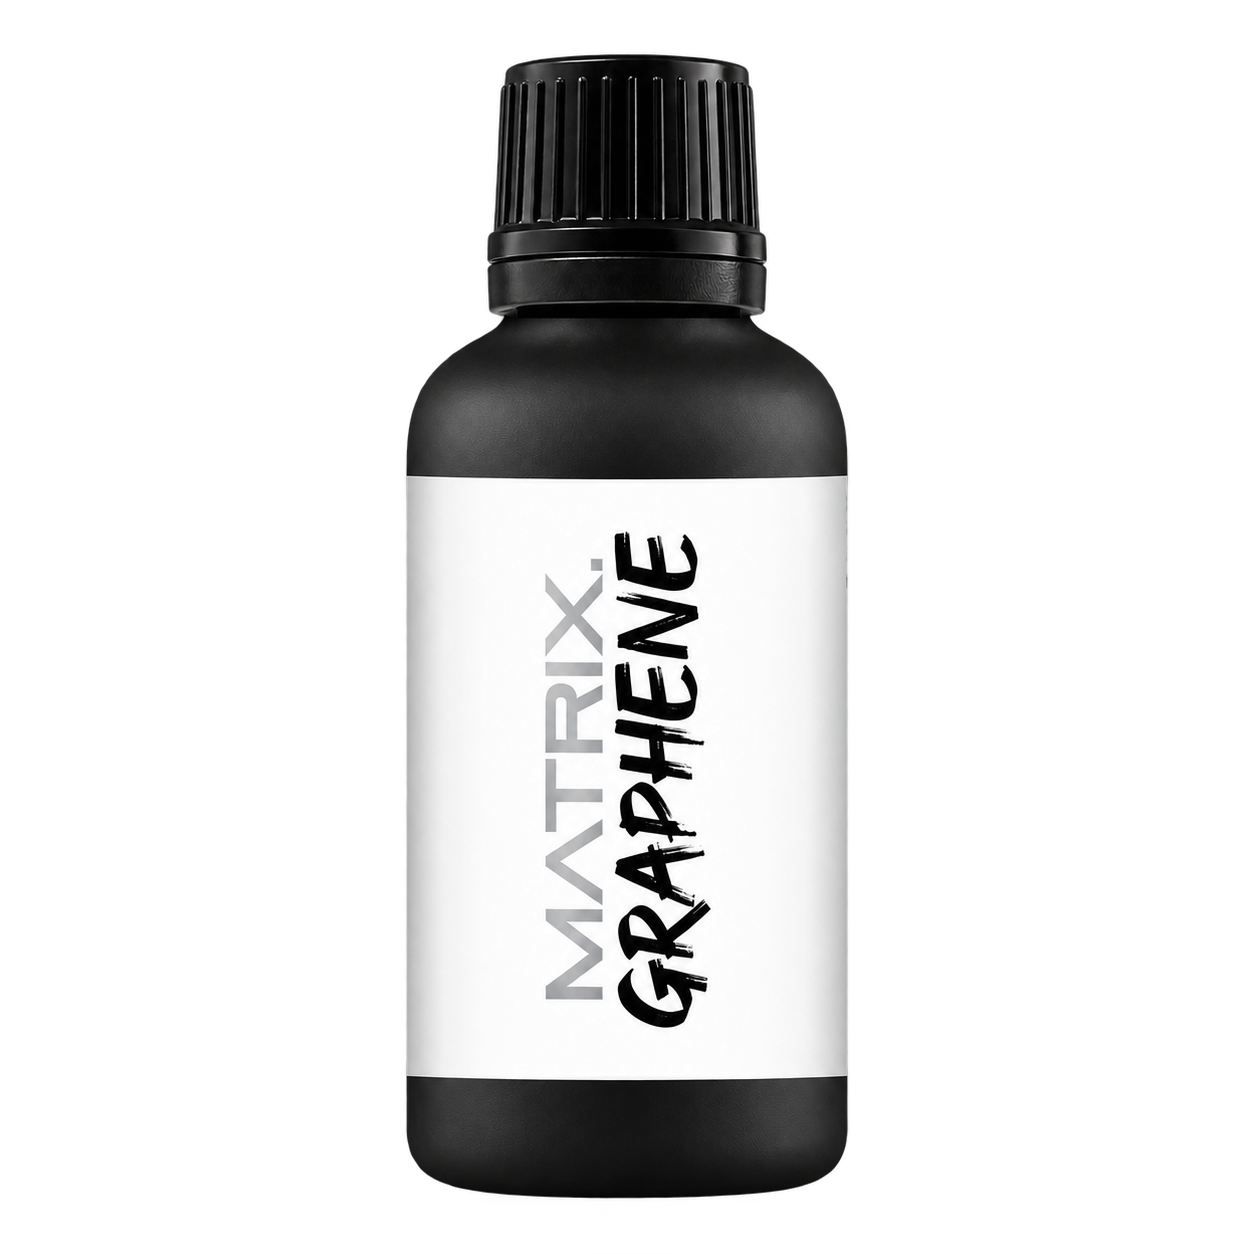
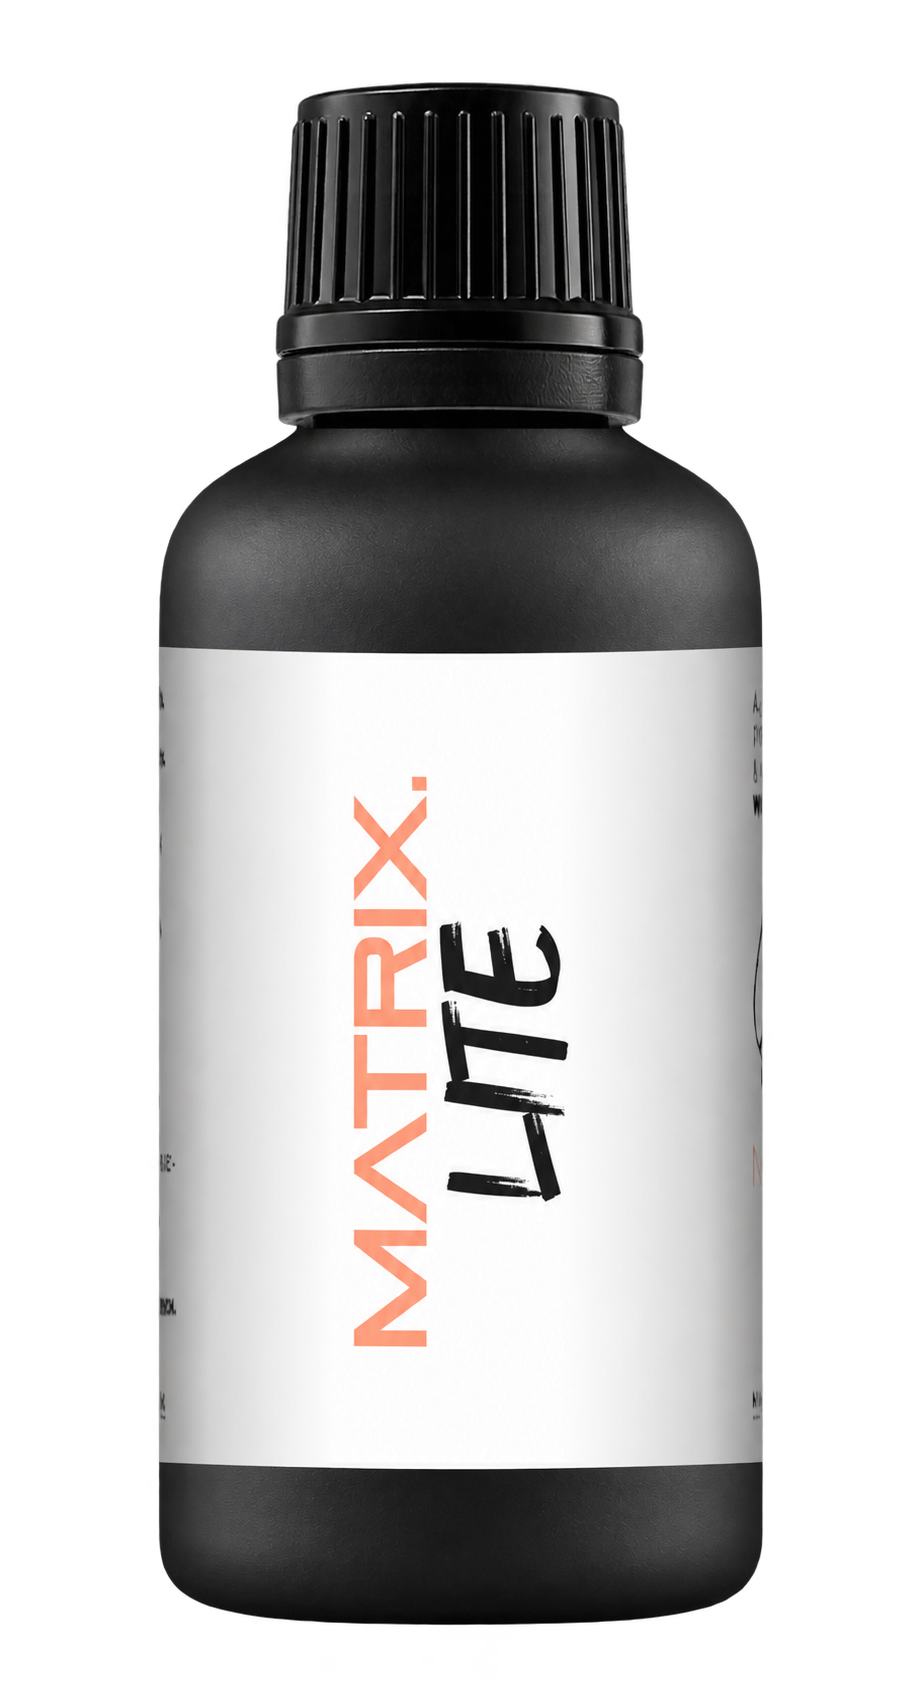
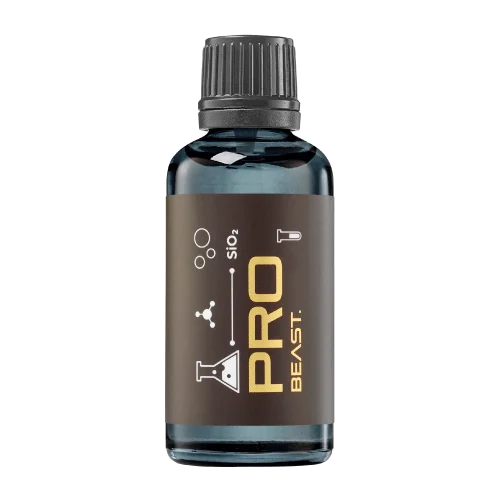
A full polishing range.
From cutting and one-step correction to final finishing.
Specialist chemistry. Expert application.
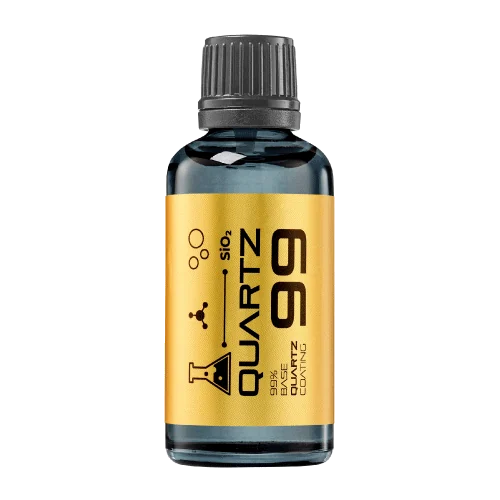 QUARTZ99 / CERAMIC BASE COAT
The foundation of your coating system.
A layerable quartz base coat designed for mechanical protection. Pair it with a suitable top coat to create the final finish.
For application by NANOLAB certified installers only.
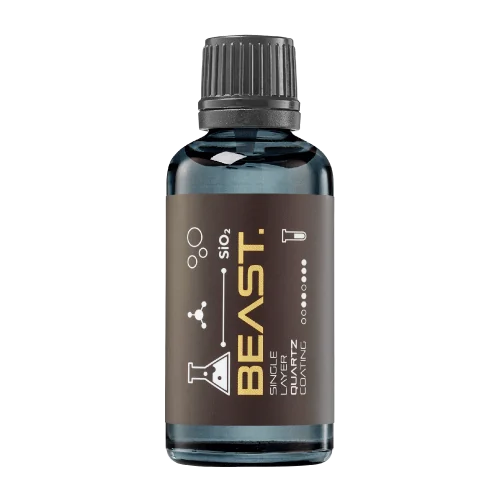
Four formulas. Extended working time. Find the coating for your finish.
Explore the BEAST family of ceramic coatings.
Find the coating for each exterior surface.
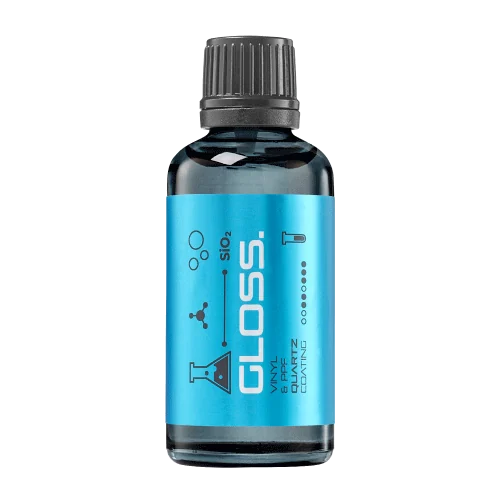 PPF & VINYLGLOSSProtection for glossy films and wraps.Discover
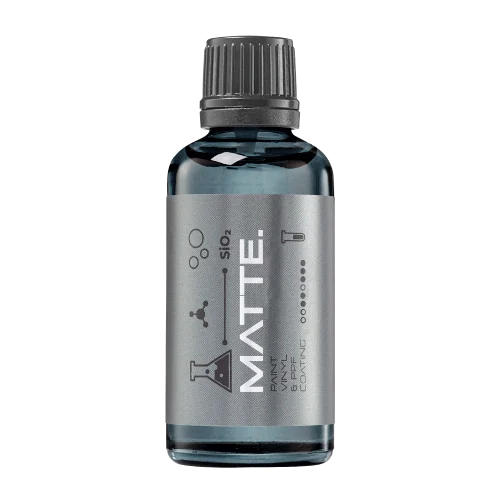 MATTE & SATINMATTEProtection that respects the finish.Discover
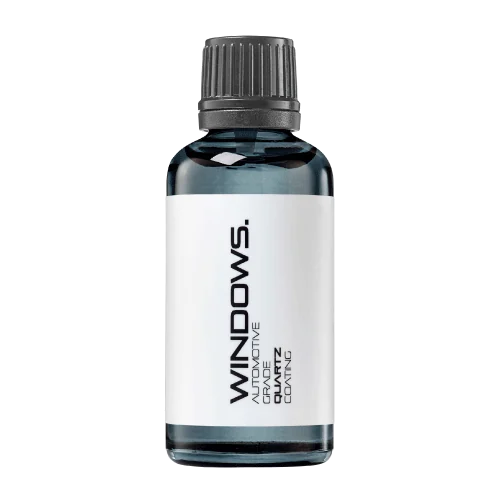 GLASSWINDOWSExplore dedicated glass protection.Discover
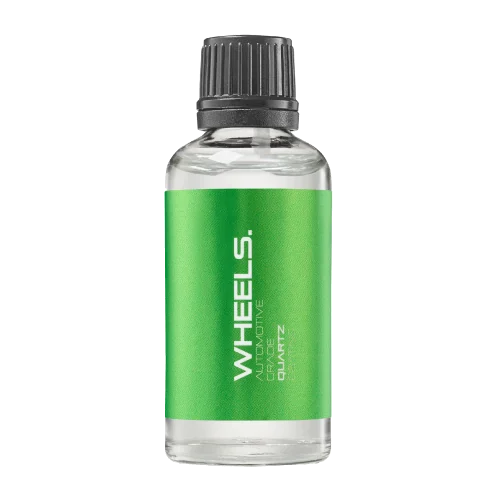 WHEEL PROTECTIONWHEELSA dedicated coating for your wheels.Discover
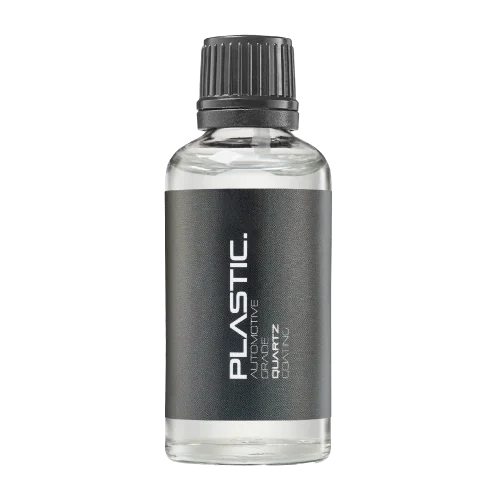 TRIM PROTECTIONPLASTICProtection for plastic surfaces.Discover
Dedicated care for the surfaces inside.
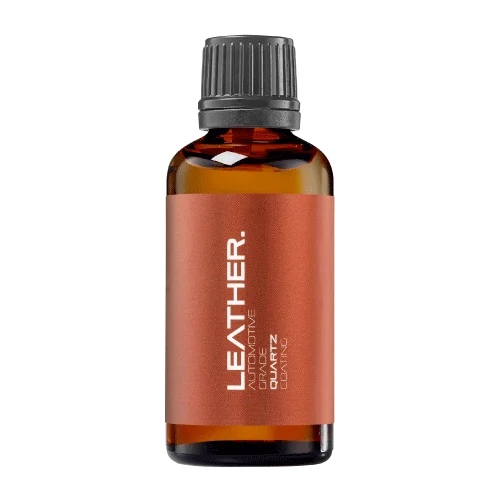 LEATHER SURFACESLEATHERDiscover NANOLAB leather protection.Discover PLASTIC SURFACESPLASTICProtection for interior plastic surfaces.Discover TEXTILE SURFACESFABRICExplore the latest fabric formulation.Discover
Spray protection, maintenance and upcoming wash products.
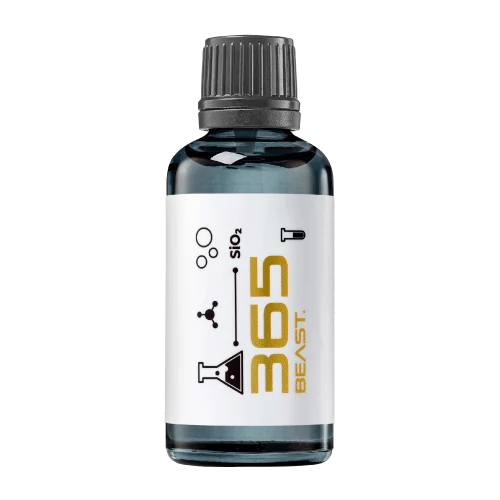 MAINTENANCEBEAST 365Explore the BEAST maintenance range.Discover
Next in washing, cleaning & care.
Ceramic protection for boats and yachts.
An easy-to-apply ceramic coating with an established track record on boats and yachts around the world.
Results vary with surface preparation, exposure and maintenance.
Read 50 MARINE guides →Explore MARINEProtection for the surfaces you live with.
A look at what we’re developing.
From cutting and one-step correction to final finishing.
A wider range for professional vehicle care.
Taking shape alongside BEAST & MATRIX.
Practical guidance for your next coating project.
Explore all guides →
Badges create narrow spaces where wash solution and dirt can collect.
Updated · NANOLAB Knowledge
Badges create narrow spaces where wash solution and dirt can collect. Cleaning them well is mainly an access and contamination-control problem. A stiff brush forced into every gap can contact both the badge and the surrounding paint without removing the trapped soil effectively.
Check whether the badge is firmly attached and whether its finish is intact. Lifted edges, peeling plating or loose lettering call for assessment before brushing. Identify nearby film edges and delicate painted trim.
Use a cleaner and soft tool appropriate for all exposed materials. Wet and loosen contamination through the approved wash process, then work in small sections with light contact. Regularly rinse the brush so it does not become a carrier for grit. Avoid prying underneath adhesive-mounted lettering.
Direct rinsing so released soil leaves the badge area rather than being pushed across a dry panel. Keep pressure and distance within the vehicle and accessory manufacturers' guidance. More pressure is not a substitute for checking a loose emblem.
After the main dry, inspect beneath the badge for fresh drips. Use a clean towel to absorb runoff when the surrounding surface is clean, or use suitable drying equipment without forcing air into places the vehicle guidance excludes. Reinspect before applying a maintenance spray.
A useful acceptance check is a clean badge surround with no visible residue in accessible gaps and no continuing dirty runoff. Perfect access may require removal, which is a separate repair or detailing decision rather than a routine wash step. If removal is proposed, agree on the attachment method and replacement requirements first. A ceramic coating does not make a loose badge secure or turn inaccessible adhesive gaps into easy-clean surfaces.
For instructions for your exact NANOLAB product and surface, use the current product documentation or contact NANOLAB.