

A full polishing range.
From cutting and one-step correction to final finishing.
Specialist chemistry. Expert application.
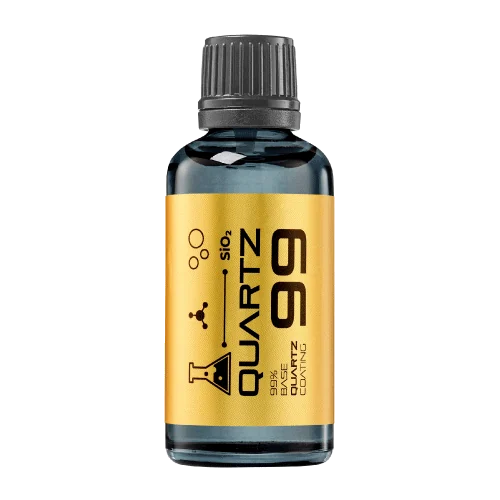 QUARTZ99 / CERAMIC BASE COAT
The foundation of your coating system.
A layerable quartz base coat designed for mechanical protection. Pair it with a suitable top coat to create the final finish.
For application by NANOLAB certified installers only.
Four formulas. Extended working time. Find the coating for your finish.
Explore the BEAST family of ceramic coatings.
Find the coating for each exterior surface.
 PPF & VINYLGLOSSProtection for glossy films and wraps.Discover
 MATTE & SATINMATTEProtection that respects the finish.Discover
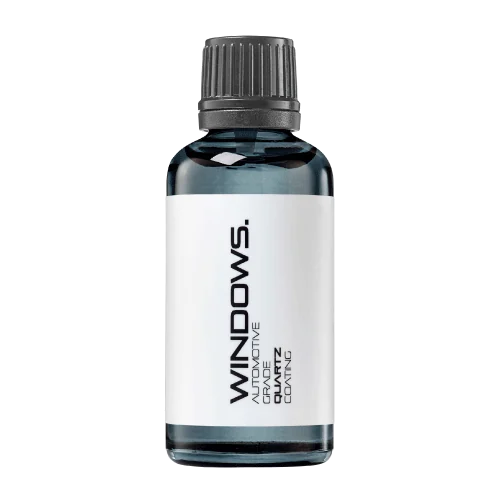 GLASSWINDOWSExplore dedicated glass protection.Discover
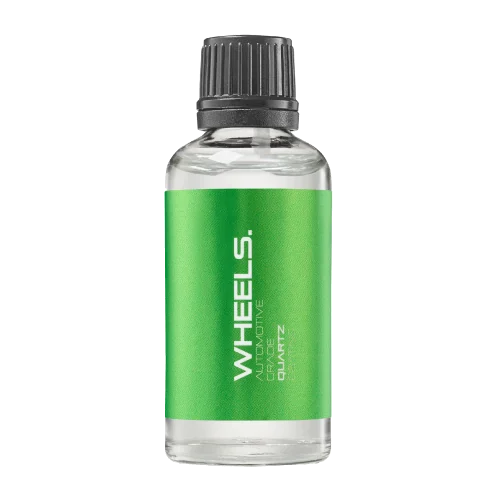 WHEEL PROTECTIONWHEELSA dedicated coating for your wheels.Discover
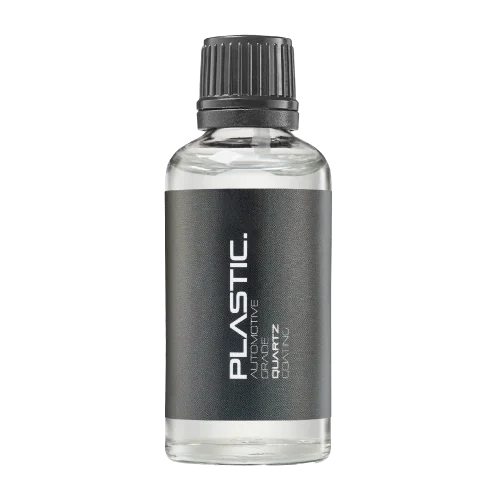 TRIM PROTECTIONPLASTICProtection for plastic surfaces.Discover
Dedicated care for the surfaces inside.
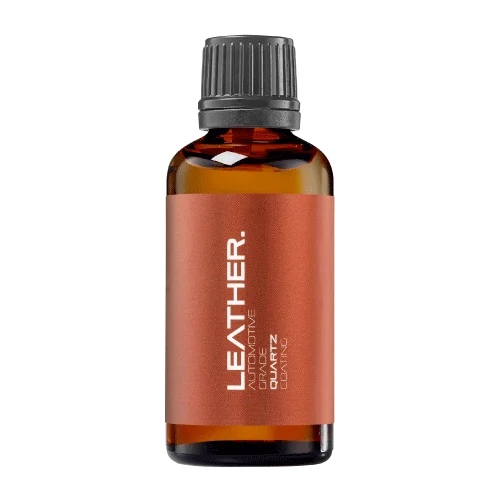 LEATHER SURFACESLEATHERDiscover NANOLAB leather protection.Discover PLASTIC SURFACESPLASTICProtection for interior plastic surfaces.Discover TEXTILE SURFACESFABRICExplore the latest fabric formulation.Discover
Spray protection, maintenance and upcoming wash products.
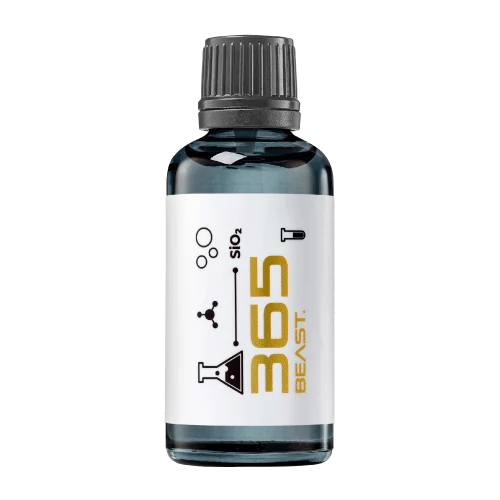 MAINTENANCEBEAST 365Explore the BEAST maintenance range.Discover
Next in washing, cleaning & care.
Ceramic protection for boats and yachts.
An easy-to-apply ceramic coating with an established track record on boats and yachts around the world.
Results vary with surface preparation, exposure and maintenance.
Read 50 MARINE guides →Explore MARINEProtection for the surfaces you live with.
A look at what we’re developing.
From cutting and one-step correction to final finishing.
A wider range for professional vehicle care.
Taking shape alongside BEAST & MATRIX.
Practical guidance for your next coating project.
Explore all guides →
Inspect stitched edges, cuffs and trapped debris in wash mitts before they contact ceramic-coated paint.
Updated · NANOLAB Knowledge
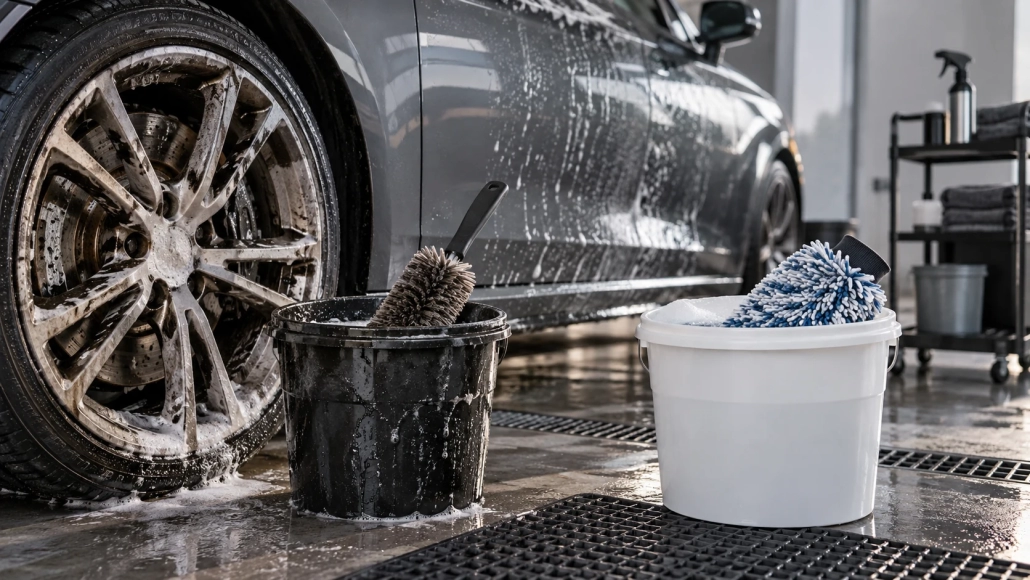
The soft centre of a wash mitt is only part of the tool. Stitched edges, cuffs and folds can retain dirt or introduce a different contact surface. When washing ceramic-coated paint, inspect the entire mitt rather than judging it by how its main pile feels.
Open folds and inspect seams under good light. Look for embedded grit, hardened residue, loose stitching and exposed material that could contact the finish. Follow the mitt manufacturer’s cleaning instructions and remove unsuitable tools from paint work.
Keep wheel and lower-area equipment distinct from tools reserved for cleaner upper panels. A mitt that was used on heavy road contamination needs appropriate cleaning and reassessment; a quick dip does not establish that every seam is clear.
Use the mitt in the orientation and method its design supports. Keep rough cuffs and labels away from paint, and avoid squeezing dirty folds against the surface. Rinse or replace wash media as contamination builds, following a suitable wash process.
If the mitt falls or picks up visible particles, take it out of the active workflow. Do not drag it over an unseen area merely because the car has ceramic coating. Protection does not eliminate the possibility of mechanical marring.
Check the mitt again after cleaning and drying. Some particles are easier to see in a dry, opened seam than in a wet pile. Store clean equipment where it will not collect workshop dust or dressing residue.
Use the coating’s care instructions to choose compatible wash chemistry. Tool inspection complements that product choice: even a suitable shampoo cannot compensate for a contaminated stitched edge repeatedly moving over the same panel.
Assess wash-mitt condition, trapped debris and task history before using it on coated paint, rather than replacing it by age alone.
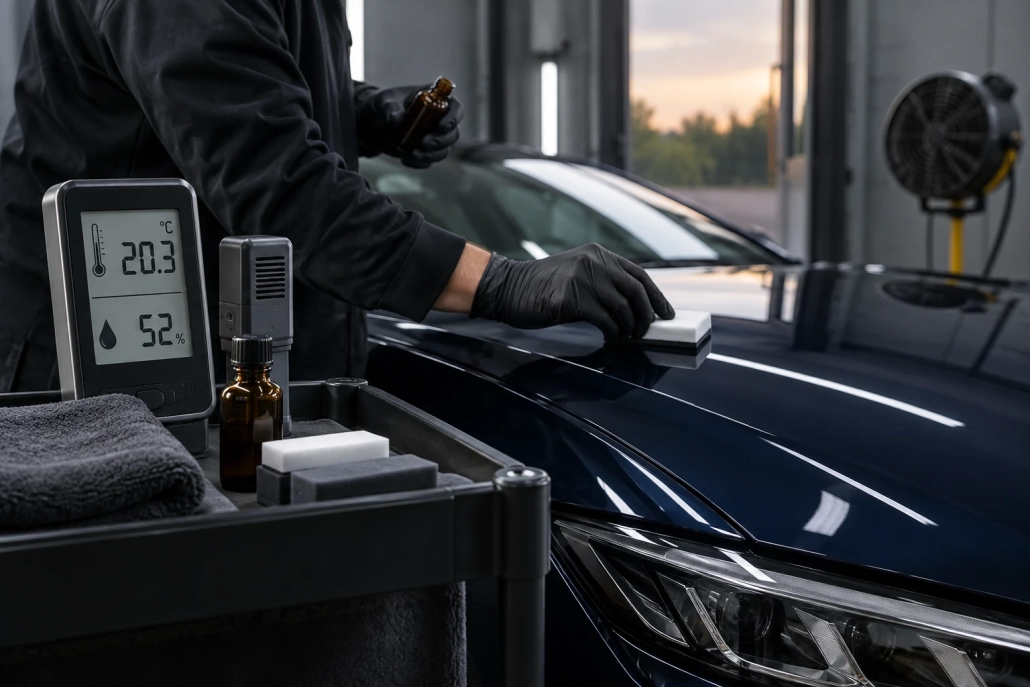
Understand where and how to check vehicle panel temperature before coating, including limitations of infrared readings on shiny finishes.
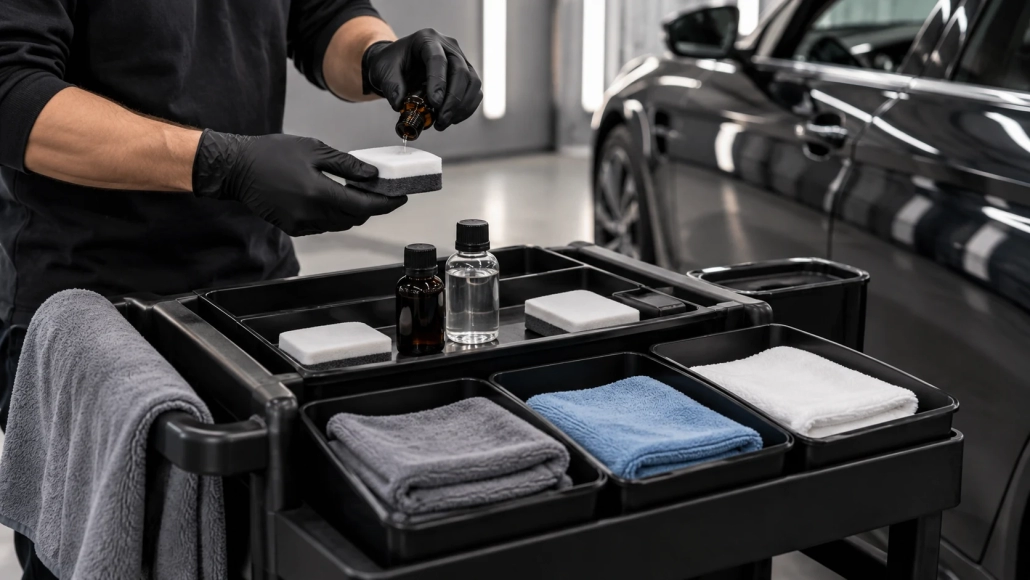
Keep preparation and coating work clean by managing glove changes, contaminated touch points and product-specific protective requirements.

 Ceramic Coating Care After Driving Through Road Spray